
Overview
You will learn
- How to use CAP in SAP Build Code.
- How to jumpstart a new project.
- How to deploy a CAP application secured by SAP Cloud Identity Services.


Prerequisites
Prerequisites
- You have a multi-environment subaccount on SAP BTP with Cloud Foundry enabled with a space.
- Your user is a member of the Cloud Foundry org and space.
- The Cloud Foundry Environment has at least 2 units assigned to the MEMORY plan. See Configure Entitlements and Quotas for Subaccounts.
- You have a tenant of SAP Cloud Identity Services, either as a trial tenant or a productive tenant. See Initial Setup. You can’t use SAP ID Service for this scenario because you must be able to access the admin UI of SAP Cloud Identity Services to assign authorizations.
- You have established trust between the multi-environment subaccount on SAP BTP and the tenant of SAP Cloud Identity Services. See Establish Trust.
- You have Set Up SAP Build Code in SAP BTP. Follow the instructions to set up your system to start creating business applications in SAP Build Code.
- You have an SAP HANA Cloud database running in your subaccount and you have the SAP HANA Cloud Administrator role collection.
- SAP HANA Cloud with hana or hana-free plans and the tools plan.
- SAP HANA Schemas & HDI Containers with the hdi-shared plan.
- Your user has the SAP HANA Cloud Administrator role collection.
- The platform user to set up these services in your subaccount and to be a member of the Cloud Foundry org and space.
- The business (application) user, who has to be in the SAP Cloud Identity Services tenant, so that we can assign the authorizations for the test at the end.
- The SAP Cloud Identity Services admin who assigns the authorizations. This person could also be the platform user for BTP.
Steps
Intro
The goal of this tutorial is to secure and deploy the CAP bookshop application, so only authenticated users with the required authorizations are able to see the book details within the application. Users without the necessary authorizations are able to log on to the application, but can see only the list of books.
Learn more about CAP in the capire one-stop documentation.
In this tutorial, the bookshop application starts with the Authorization and Trust Management service to provide authentication. However, we want to use SAP Cloud Identity Services instead, with Identity Authentication for logging on and Authorization Management for permissions to access the application. Therefore, we change the authentication to Identity Authentication.
We then later add the Data Control Language (DCL) files for Authorization Management. These files define an authorization policy.
Then, we deploy the bookshop application and try to access it with a business user. To see the admin part of the bookshop application, we assign the business user the admin authorization policy.
For more information about SAP Cloud Identity Services and CAP, see CDS-based Authorization.

User and Account Setup in BTP
Understanding the BTP User and Account Setup
There are at least three personas in setting up this tutorial.
| Persona | Identity Provider | Description |
|---|---|---|
| Platform User | Platform | The platform user is the administrator of the BTP subaccount and possibly for the BTP global account. To set up this scenario you’ll need a global account admin to assign quotas and entitlements to the subaccount. In addition to managing the platform, platform users also typically work as developers. |
| Business User | Application | The business user consumes the applications subscribed to or deployed in the subaccount. In this tutorial, business users can use SAP Business Application Studio to create the development project, but you need the platform user to deploy that development project in the command line interface (CLI). The business user then accesses the bookshop application that the platform user deployed. |
| IDP Admin | Admin of the identity provider | In this scenario, the identity provider administrator manages the users in the tenant of SAP Cloud Identity Services. SAP BTP and its applications use these identity providers to authenticate the platform and business users respectively. We need the IDP admin in this tutorial to assign the authorization policy to the business user so they can see the products in the CAP bookshop application. |
Note: You can use the same identity provider for both the platform and business users. Then both users are in the same identity provider and are only distinguished by the authorizations you assign them.
This step includes creating an application in SAP Build Lobby.
In the SAP Build Lobby, click Create > Create to start the creation process.

Create a project Click the Application tile.
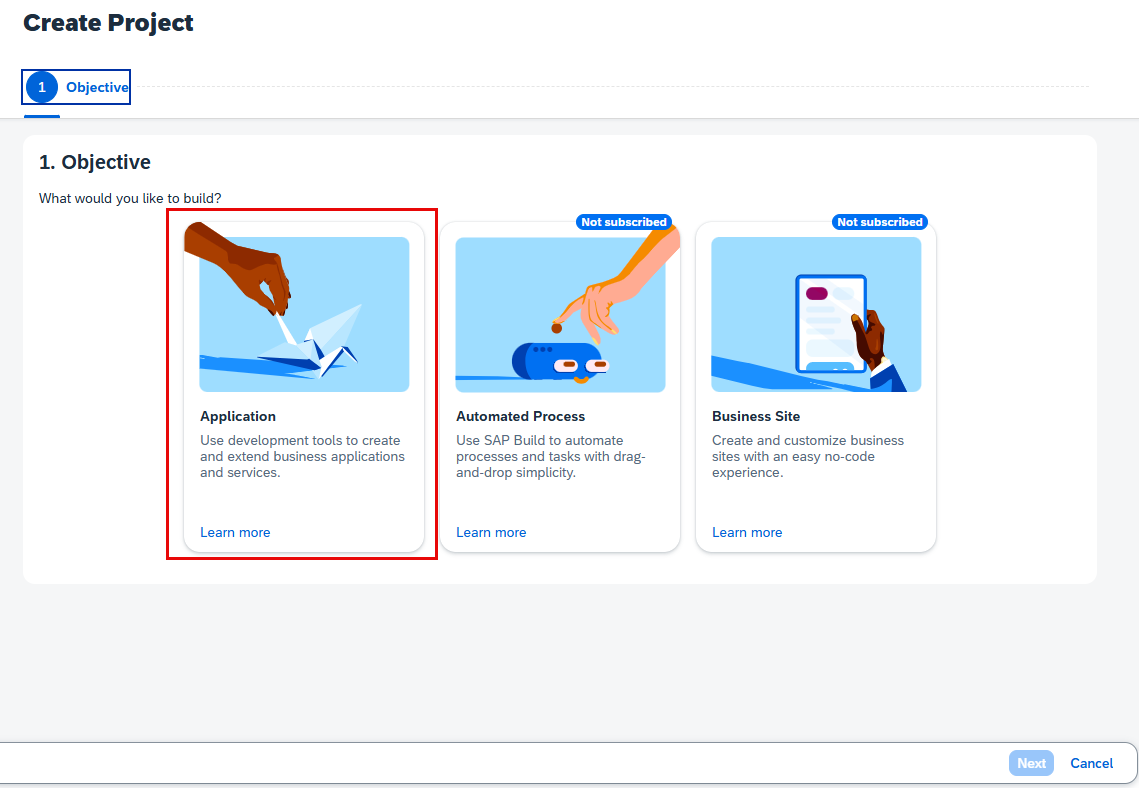
Application tile Select the Full-Stack category.

Full-Stack tile Select Full-Stack Node.JS to develop your full-stack application, based on the SAP Cloud Application Programming Model (CAP), in SAP Business Application Studio.

Full-Stack Node.JS Enter the project name, add a description (optional), select the dev space where you want the project to reside, and then click Review.

Project details Review the inputs under the Summary tab. If everything looks correct, click Create to proceed with creating your project.
Your project is created in the Project table of the lobby. The creation of the project may take a few moments. After the project has been created successfully, click the project to open it.

Bookshop project The project opens in SAP Business Application Studio.

Project in SAP Build
The bookshop application is initiated. You will now add sample files.
Find the hamburger icon in the menu on the left side of the screen. Select Terminal, and then select New Terminal.

New terminal In the Terminal, enter
cds add sample.This adds the sample Node.js application.

Initiate bookshop project
You have to add the package.json file and its relevant dependencies.
Enter
cds add ams --for productionThe
dependenciesanddevDependenciesare added and the authorization type is set toias.
Add ams Note that it is good practice to test the policies and integration before deploying the application.
You can directly assign policies to CAP mock users in the cds environment. See policies test for more information.
Then, write a standard unit test against the CAP service to verify that the role assignment by the policy works as expected. See admin test for more information.
Enter
npm ito install the dependencies defined in the package.json file. This adds the node_modules folder.Enter
cds build --for amsto create the ams folder, with all the required roles.
Ams folder See Configuring Authorization Policies for more information about authorization policies.
Enter
cds add approuterto add the approuter, which will enable you to create a secure route to your application.Enter
npm iagain to have the right dependencies defined and fixed for the build.
To enable SAP Fiori preview, add the following configuration in the package.json file of your bookshop project in VS Code:
    "cds": {
      "fiori": {
        "preview": true
      },
      "server": {
        "index": true
      },
    }
This updates the file with the Fiori and server parameters.
Before you can deploy, you have to log in with your credentials and also ensure that you have an SAP HANA Cloud database running in your subaccount.
Log on to your subaccount with its appropriate API Endpoint; you can find that here:
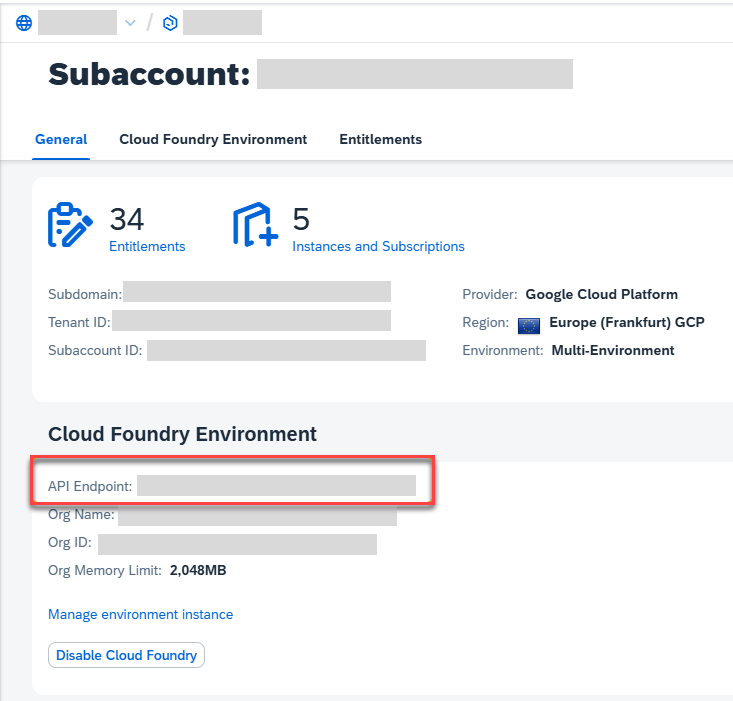
API endpoint cf l -a api.cf.us10-001.hana.ondemand.com --ssoLearn more about starting the SAP HANA database in this tutorial.
Enter
cds upto deploy the application.
To test your application and make sure it’s reachable, open your application from your subaccount’s space in SAP BTP cockpit.
Go to Subaccount > Cloud Foundry > Spaces.

Cloud foundry spaces Choose your Space and click on bookshop.

Space Choose the displayed application router link.

Approuter link The bookshop application is displayed. Under /odata/v4/catalog, choose ListOfBooks.

Approuter link result The following list is displayed.
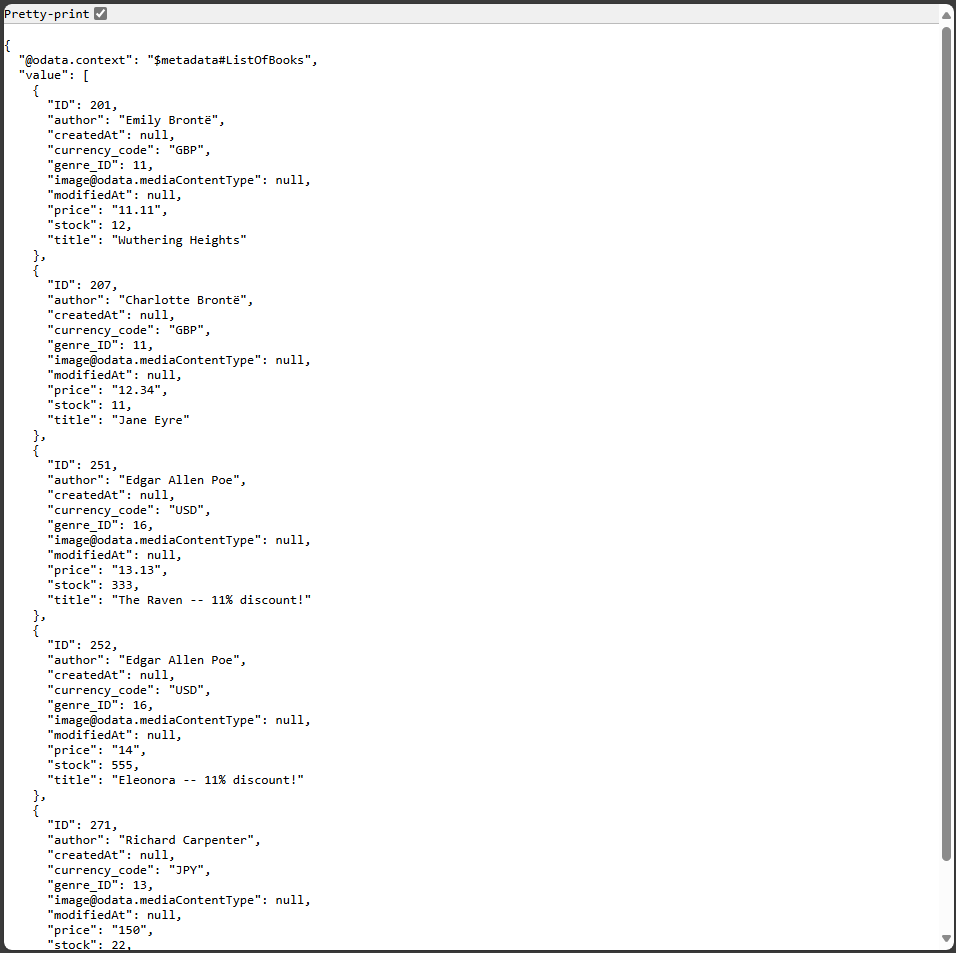
List of books Go back to the application by using the back button on the browser. Now, under /odata/v4/admin, choose Books to see some information about each book.

Books You see the following error message. This is because of missing authorizations.
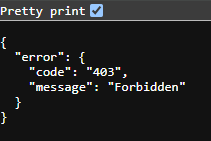
Error message
As the admin of your SAP Cloud Identity Services tenant, open the admin console.
Under Applications & Resources > Applications, find the bookshop application.
Then, under the Authorization Policies tab, open the admin policy.
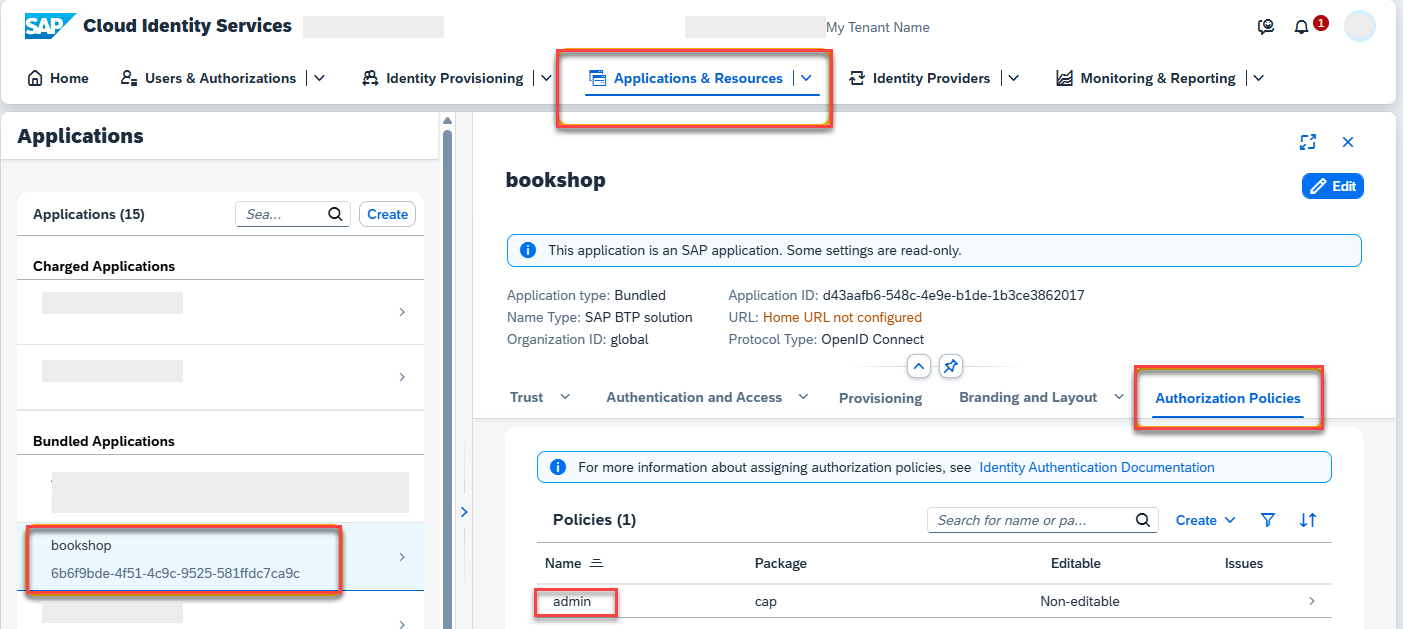
Admin console Add your user to the admin policy.

Add user Note that it takes a few minutes for the policy to apply.
Choose the link again to log on to the bookshop application once more and under /odata/v4/admin, choose Books again. This time, you see the information about each book.

Resources
Discussion
Share feedback on this tutorial or join the conversation in SAP Community.