
Overview
You will learn
- How to configure an approuter application.


Prerequisites
Prerequisites
- You have created an MTA project for the Multitenant Application in the Business Application Studio as per the previous tutorial of this group
Steps
To authenticate business users of the application at runtime, use the tenant-aware approuter application and the XSUAA service in SAP Business Technology Platform. This will also provide the necessary callbacks for the SaaS Provisioning Service. In addition, we provide the middleware @sap/asp-middleware component that enhances the approuter to also take care of automatically routing the consumer to their ABAP tenant.

Create a new folder called ‘router’. This step happens in the Business Application Studio, in the project folder created in the previous tutorial

New Folder Open a command prompt (terminal) in this folder
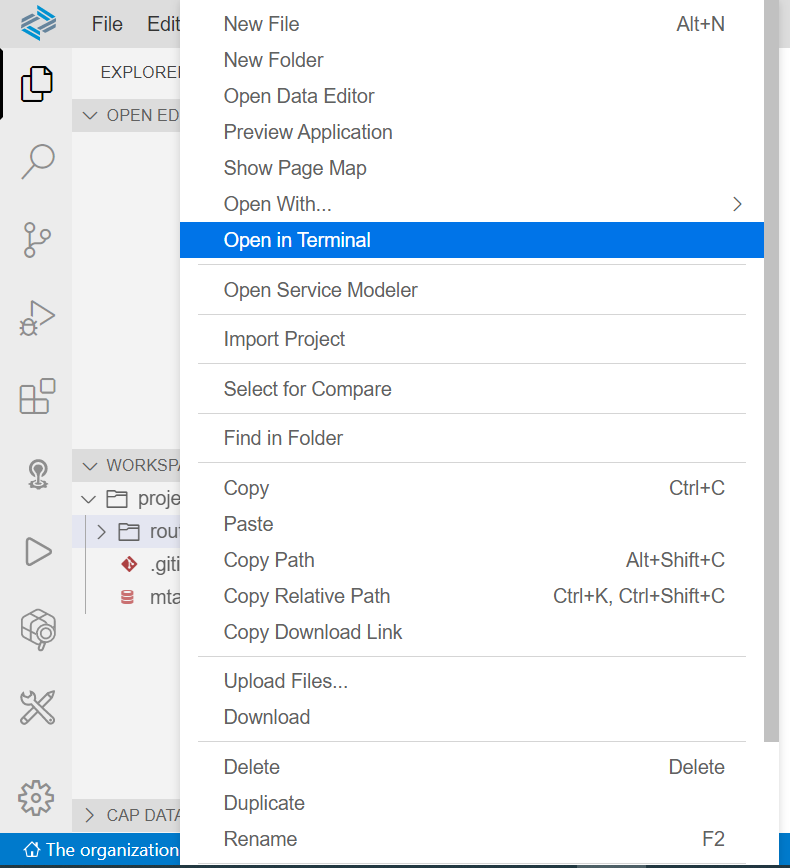
Open in terminal Create a new project by executing the following command
npm initIn the upcoming wizard flow you can leave the defaults or define your own values if preferred

Result: After the project is initialized, the package contains a package.json file
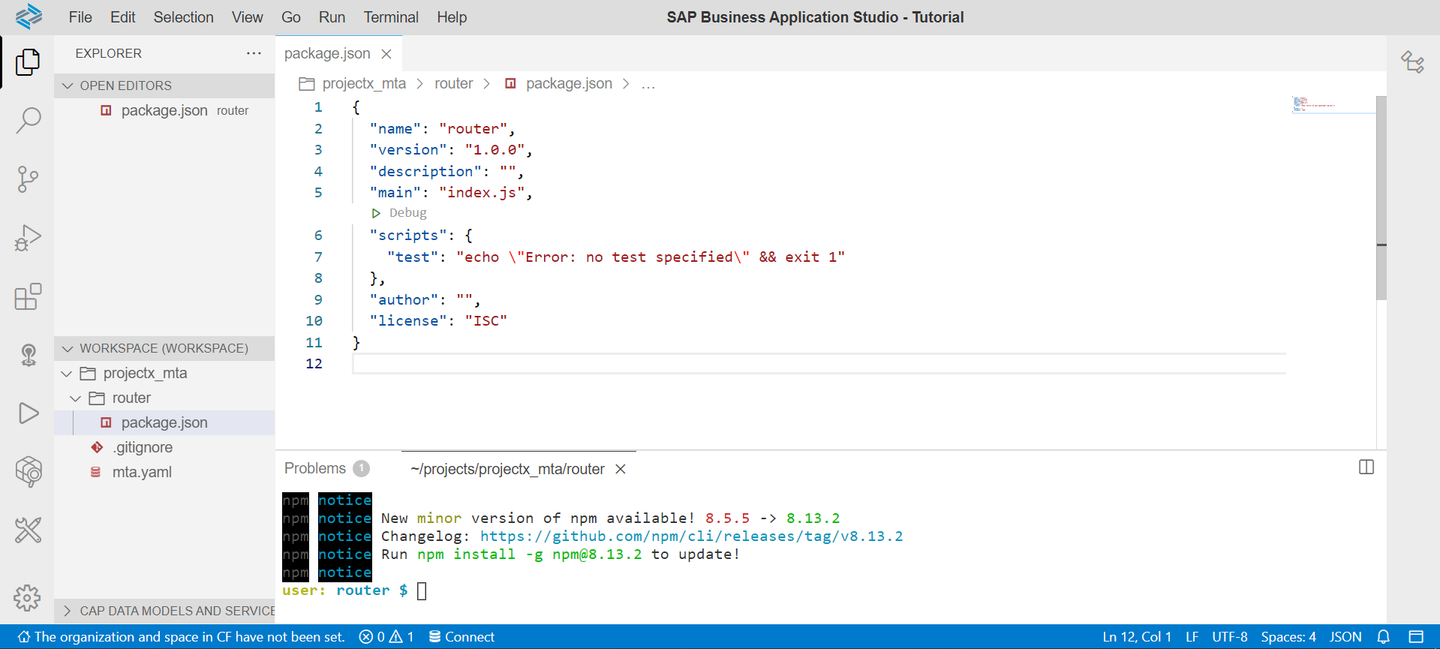
The
package.jsonshould have the following content (if the defaults are kept):Replace your code
{
  "name": "router",
  "version": "1.0.0",
  "description": "",
  "main": "index.js",
  "scripts": {
  "test": "echo \"Error: no test specified\" && exit 1"
  },
  "author": "",
  "license": "ISC",
} The ‘@sap/approuter’ and the ‘@sap/asp-middleware’ must be installed so that they can be used in the start script.
- Execute the following command in the terminal:
npm install @sap/approuter @sap/asp-middleware 
Result: The two modules will be listed in the package.json as ‘dependencies’ and are downloaded into the node_modules folder.
Updated package.json (versions might differ):
{
   "name": "router",
   "version": "1.0.0",
   "description": "",
   "main": "index.js",
   "scripts": {
   "test": "echo \"Error: no test specified\" && exit 1"
   },
   "author": "",
   "license": "ISC",
   "dependencies": {
   "@sap/approuter": "^11.2.1",
   "@sap/asp-middleware": "^1.0.9"
   }
}A start script needs to be added to prepare the application for execution in the Cloud Foundry Environment.
- To add a start script, add the following property under the
scriptssection of package.json
"start": "node index.js",- The updated package.json looks as follows:
{
 "name": "router",
 "version": "1.0.0",
 "description": "",
 "main": "index.js",
 "scripts": {
 "start": "node index.js",
 "test": "echo \"Error: no test specified\" && exit 1"
 },
 "author": "",
 "license": "ISC",
 "dependencies": {
 "@sap/approuter": "^11.2.1",
 "@sap/asp-middleware": "^1.0.9"
 }
}Create the file
index.js. Theindex.jsfile must be created in therouterfolder.
New File The JavaScript code for the application must be written here. The minimum code required is the following:
const approuter = require('@sap/approuter');
const ar = approuter();

ar.start({
  extensions: [ require('@sap/asp-middleware') ]
});
It will load the approuter and the asp-middleware and ensures that both components are wired. Additionally, the approuter is started.
To make sure that the approuter routes all relevant requests to the ABAP Solution, a routing configuration file needs to be created and configured.
Create a file named xs-app.json in the same folder where you created the index.js file. Add ABAP endpoint to both the routes.
It should have the following content:
{
  "authenticationMethod": "route",
  "welcomeFile": "/ui",
  "logout": {
  "logoutEndpoint": "/sap/public/bc/icf/logoff",
  "logoutPage": "/ui"
  },
  "routes": [
  {
  "source": "^/sap/(.*)$",
  "target": "/sap/$1",
  "authenticationType": "xsuaa",
  "service": "com.sap.cloud.abap.solution",
  "csrfProtection": false,
  "endpoint": "abap"
  },
  {
  "source": "^/ui(.*)$",
  "target": "/ui$1",
  "authenticationType": "xsuaa",
  "service": "com.sap.cloud.abap.solution",
  "csrfProtection": false,
  "endpoint": "abap"
  }
  ]
}To test that everything works, execute the below in your command prompt
Shell/Bashnpm startAs a result, you should see the following error message: ‘Error: No ABAP Solution credentials found in environment’.
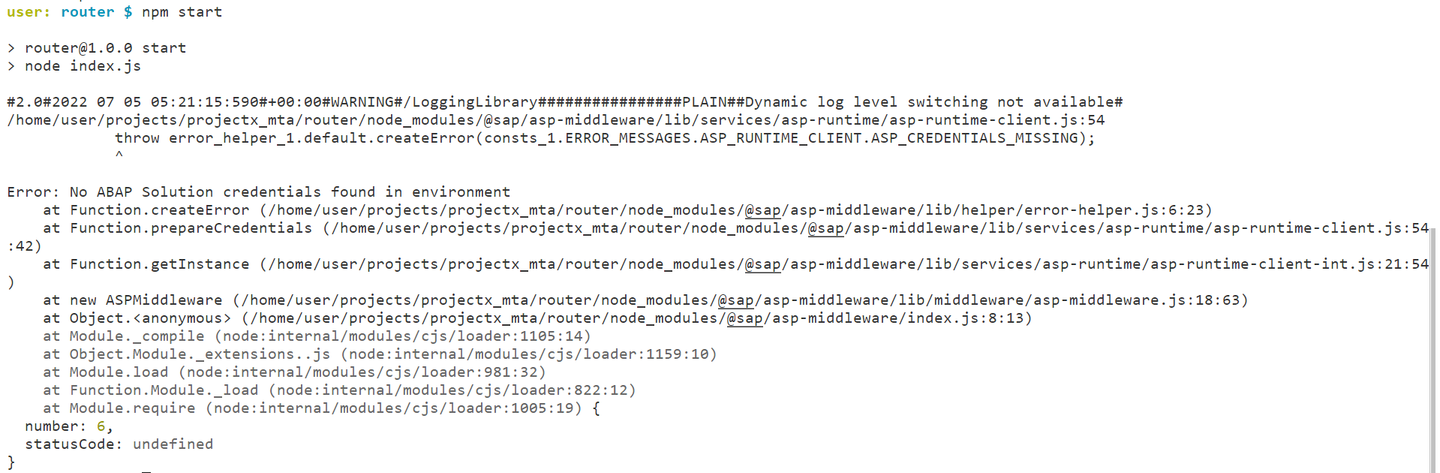
Error as expected This tells us that the middleware was loaded as a dependency and that the start command is correct.
Resources
Discussion
Share feedback on this tutorial or join the conversation in SAP Community.