
Overview
You will learn
- How to change your settings
- How to enable new extensions
- How to create a new workspace


Prerequisites
Prerequisites
- SAP Web IDE Full-Stack is enabled
Steps
Intro
In this tutorial, you’ll set your theme preferences, connect to your trial Cloud Foundry endpoint on SAP Cloud Platform, and enable some extensions.
We would like to invite you to switch to SAP Business Application Studio, which provides an improved development experience. SAP Business Application Studio supports the SAP Web IDE Full-Stack scenarios, including SAP Fiori and SAPUI5 freestyle application development for SAP BTP Cloud Foundry and on-premise ABAP, full-stack apps leveraging the SAP Cloud Application Programming Model (CAP), and native application development for SAP HANA Cloud. New features are added regularly to SAP Business Application Studio that shorten the application development cycle by leveraging new SAP technologies and improving developer productivity. See the SAP Business Application Studio Community page for more information.
When you open your SAP Web IDE Full-Stack, you will land on your home page.
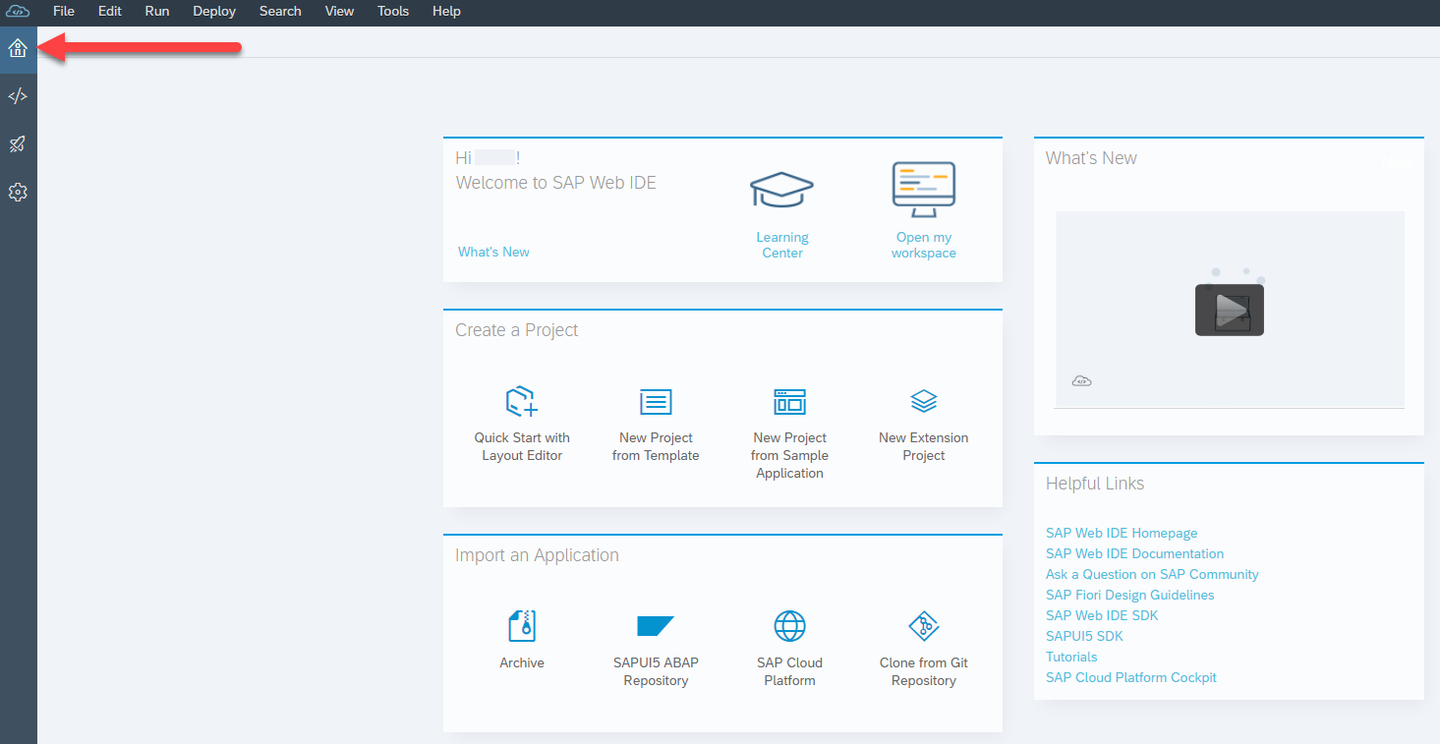
Your SAP Web IDE Full-Stack Home is a great place to get started with some of the key features from SAP Web IDE. You can easily create new projects, import existing applications, or access learning from this page.
While you are busy coding your applications, you may not spend a lot of time here, but it’s good to remember that it is available for you if you want to see what is new or what else SAP Web IDE supports.
You will probably be spending most of your time in the SAP Web IDE on the 2nd tab in the left menu. This icon (</>) will take you to the Development pane of SAP Web IDE.
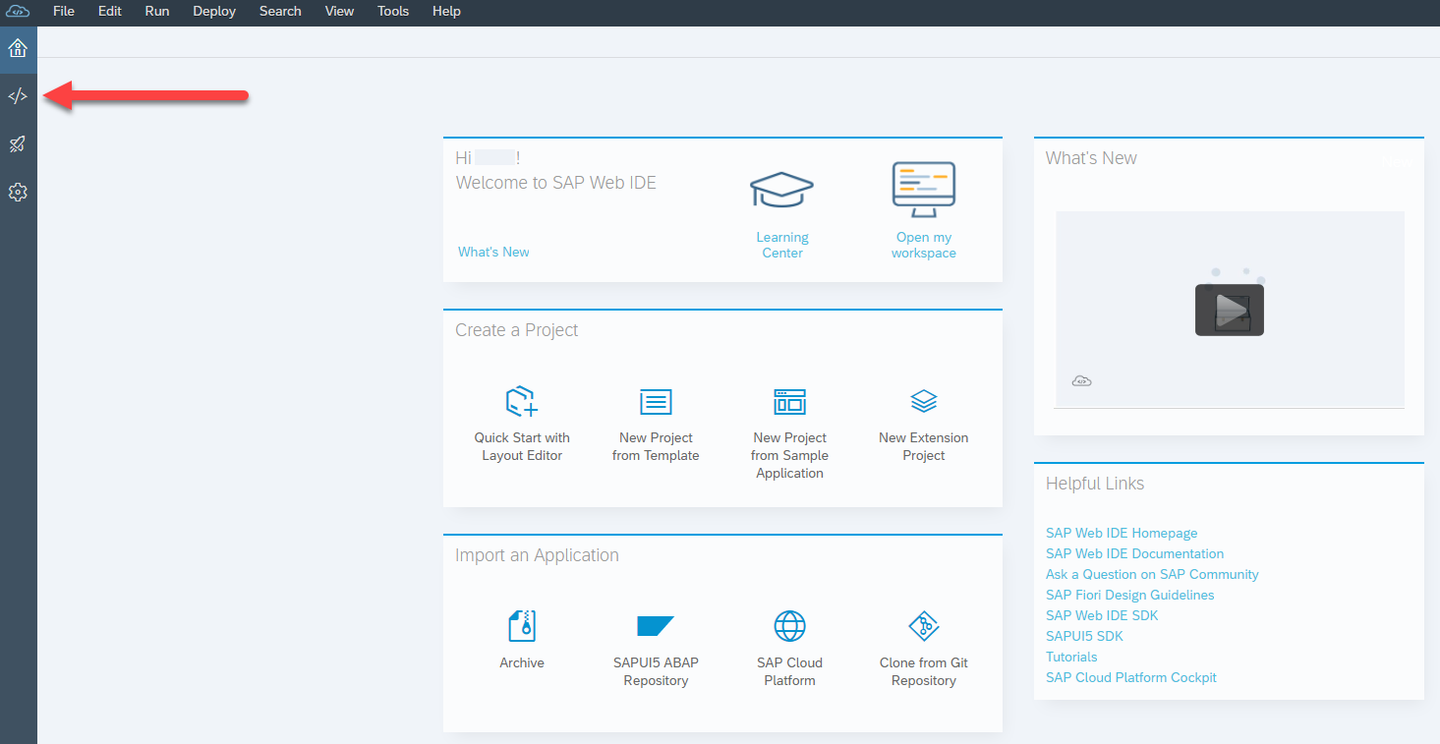
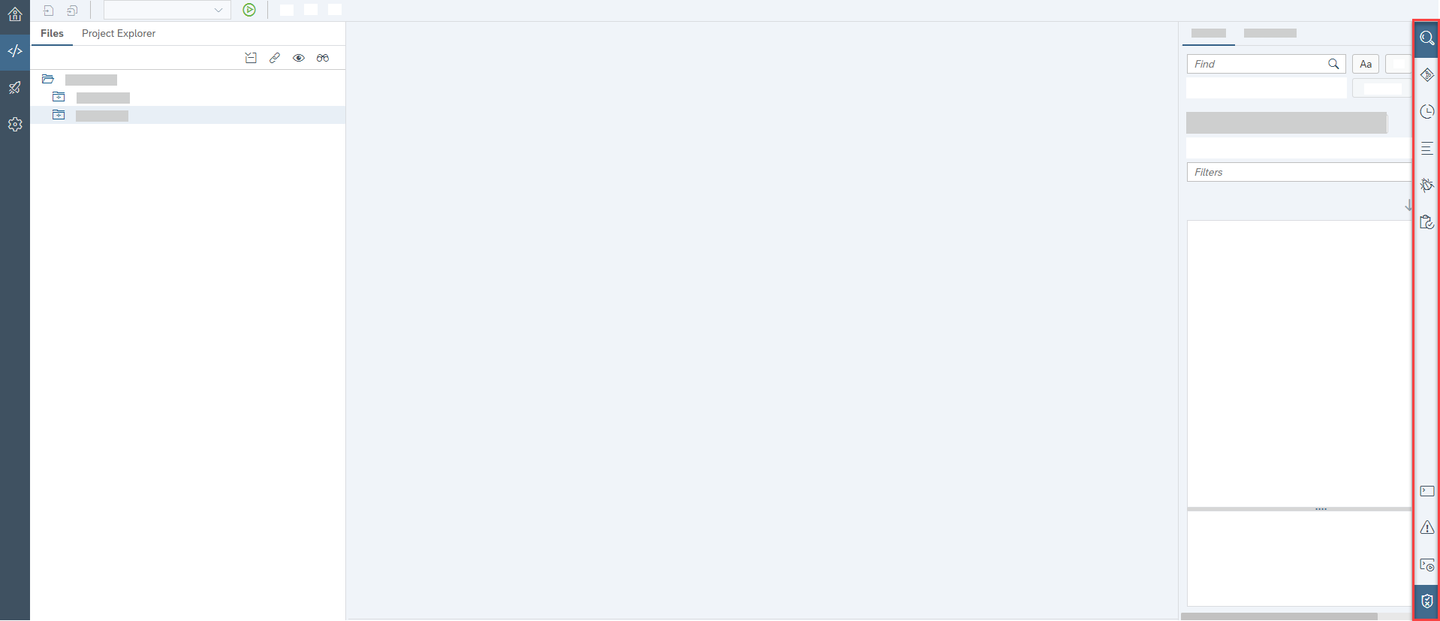
This is where you can find the code base for any and all projects you create or import into SAP Web IDE. If you are ever wondering where your code went, make sure you are on the Development tab.
The SAP Web IDE Development pane also has a right navigation menu that exposes some additional features and integrations available in the SAP Web IDE. You will find a file explorer, Git integration, unit testing, logging console, and more. More of these features will be explored in future tutorials.
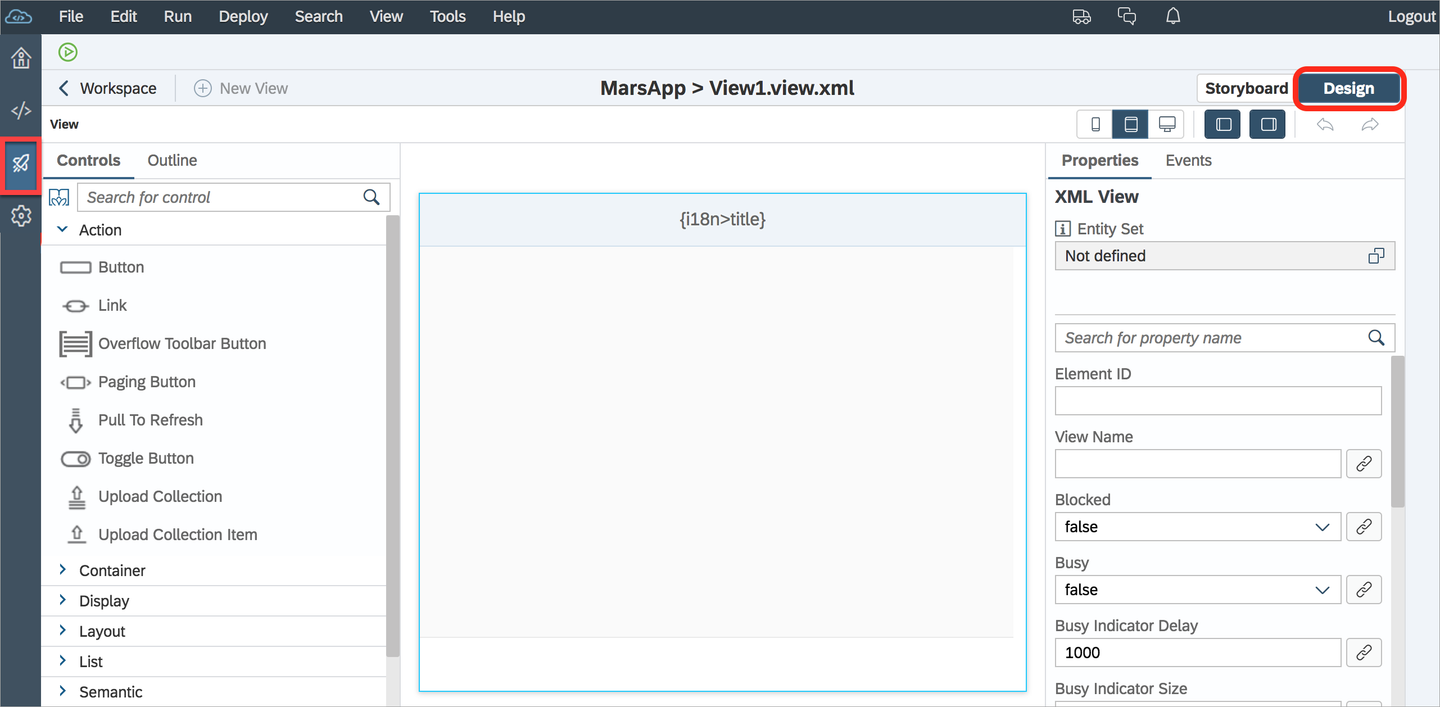
The third tab (rocket ship icon) will take you to the Project Explorer and Storyboard view. This tab is the Storyboard tab.
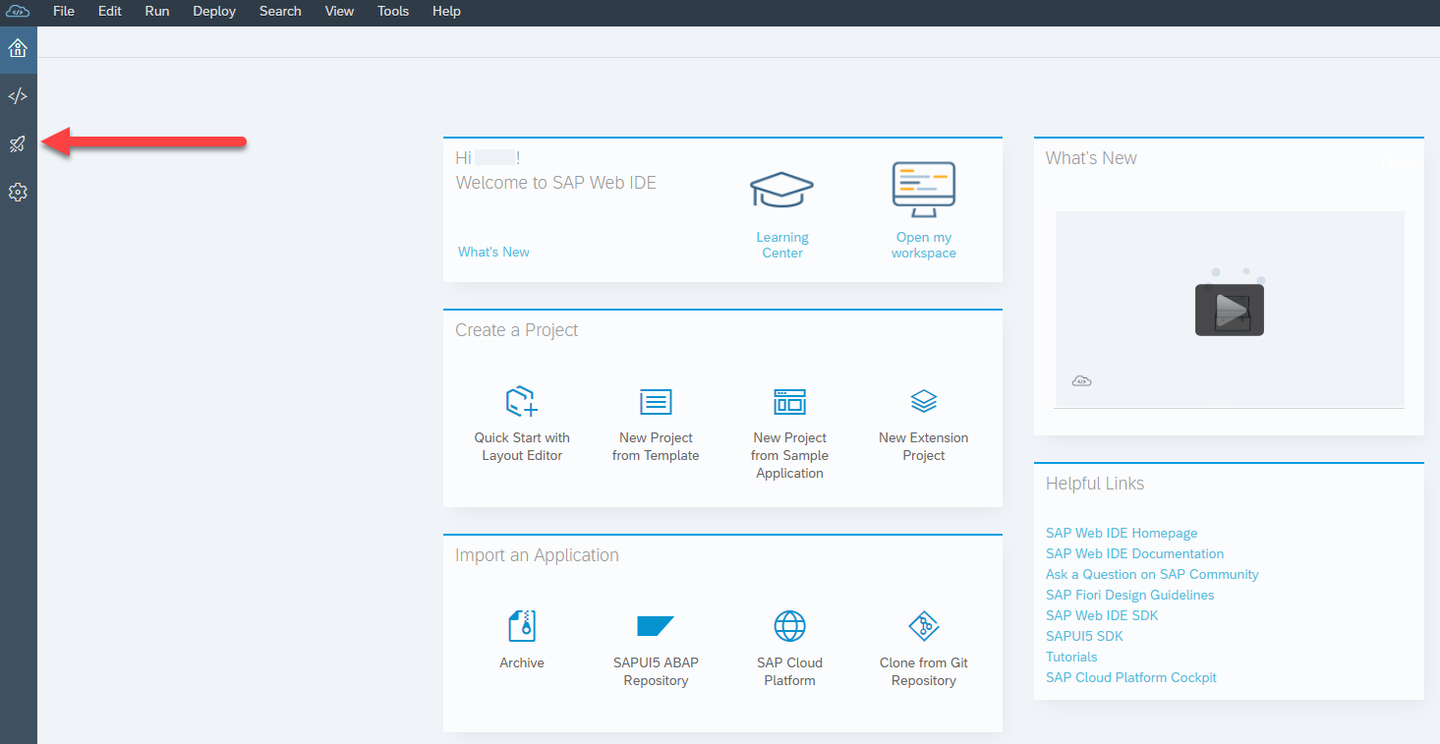
You can use the Storyboard tab when you are working on your user interfaces, or UIs. This will give you a visual representation of your application and how the navigation in your application works. If you already have projects in your SAP Web IDE, you will also find the Layout Editor here under the Design view.
Any changes you need to make to the configuration of your SAP Web IDE will be done in the 5th tab (gear icon), which takes you to your Preferences pane.
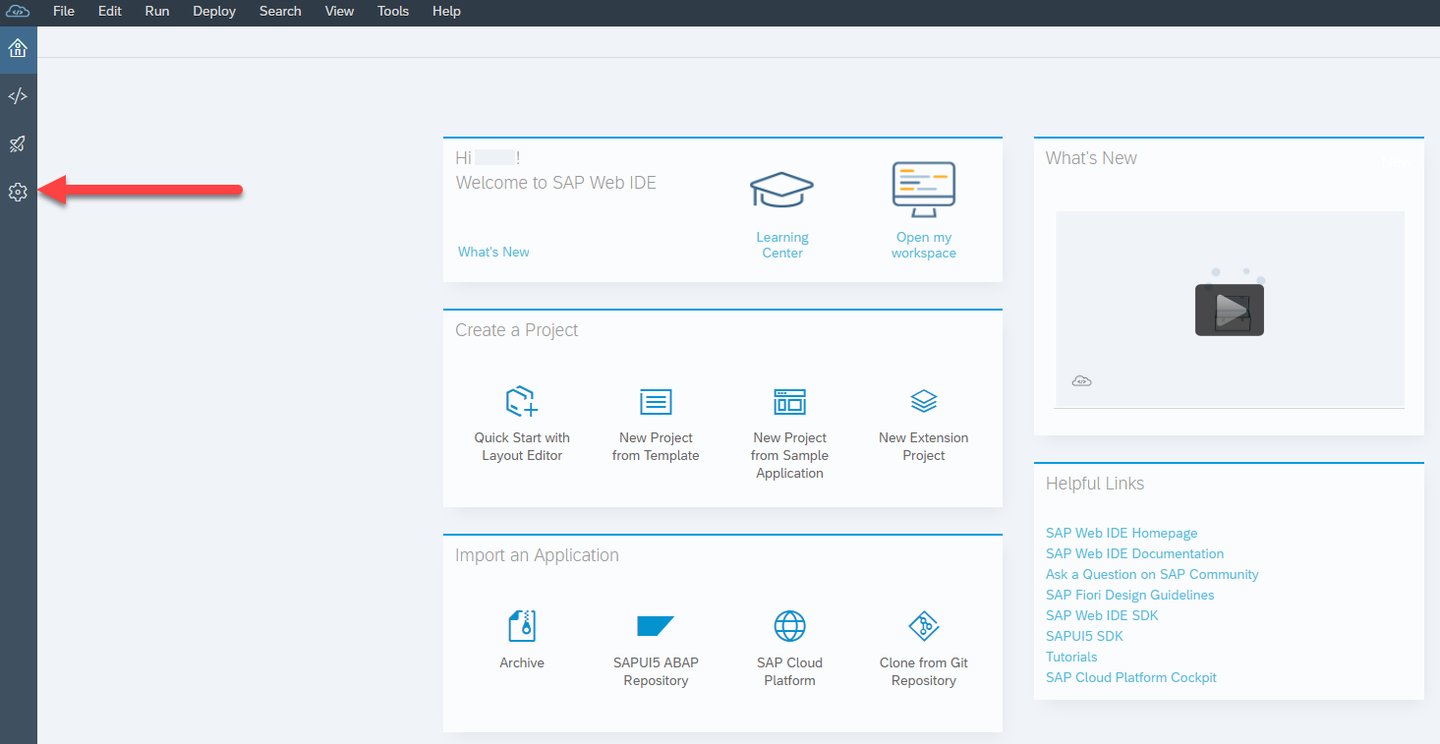
If you want to enable new extensions, change themes, or update other settings, the Preferences pane will host most of these configuration options.
Let’s start on this tab, so click the gear icon to move to your Preferences pane.
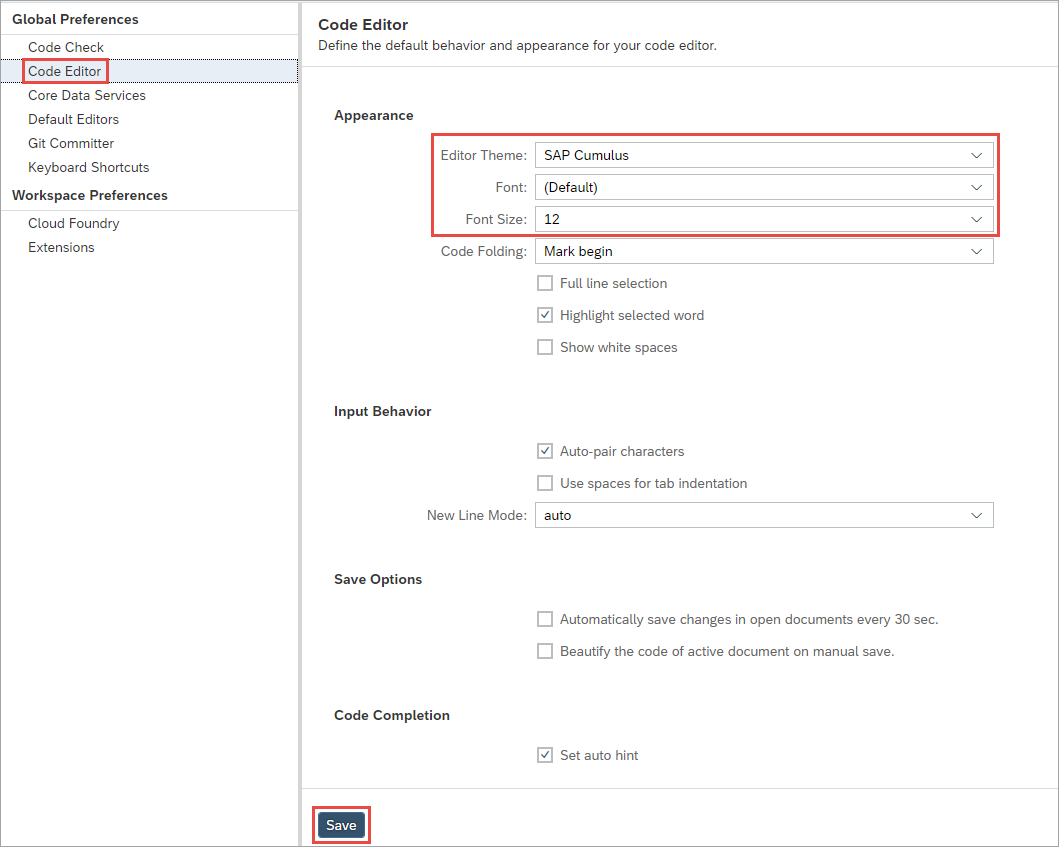
You can make your SAP Web IDE your own by updating the theme used in the code editor. To do so, on the Preferences pane, click on Code Editor under the Global Preferences list.
On the Code Editor screen, you will find the Code Editor Theme drop-down list. Feel free to update that as well as Font, Font Size, and other code settings you prefer.
When you have made all the changes you wish, don’t forget to click Save to save your changes.
The SAP Web IDE you are exploring is the out-of-the-box version. To add extensions to your SAP Web IDE, click Extensions under Workspace Preferences.
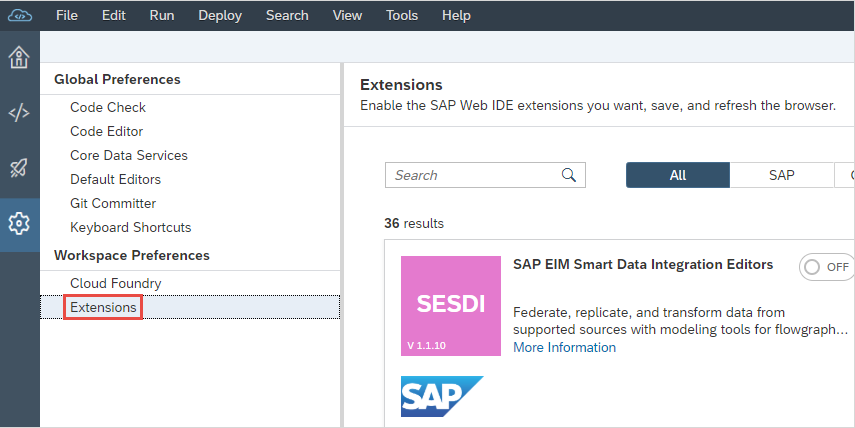
You can always create and add new extensions if you need additional capabilities. Extensions can be custom created in your SAP Web IDE, which is covered in a later tutorial, or prebuilt by SAP or partners.
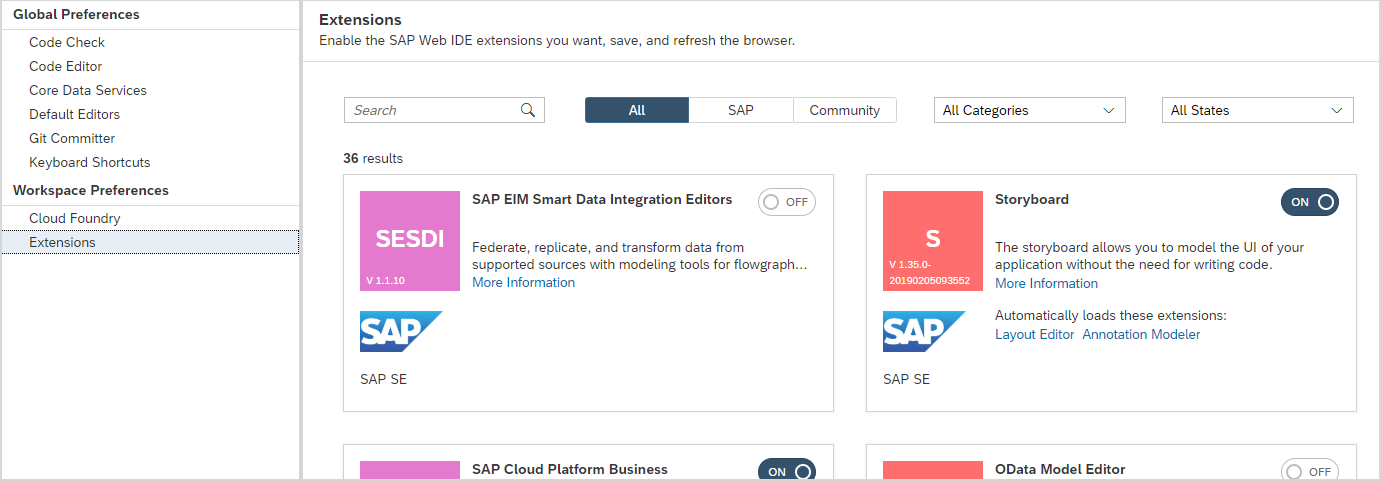
To enable or disable an extension, simply toggle the On/Off switch on the tile, and then click Save.
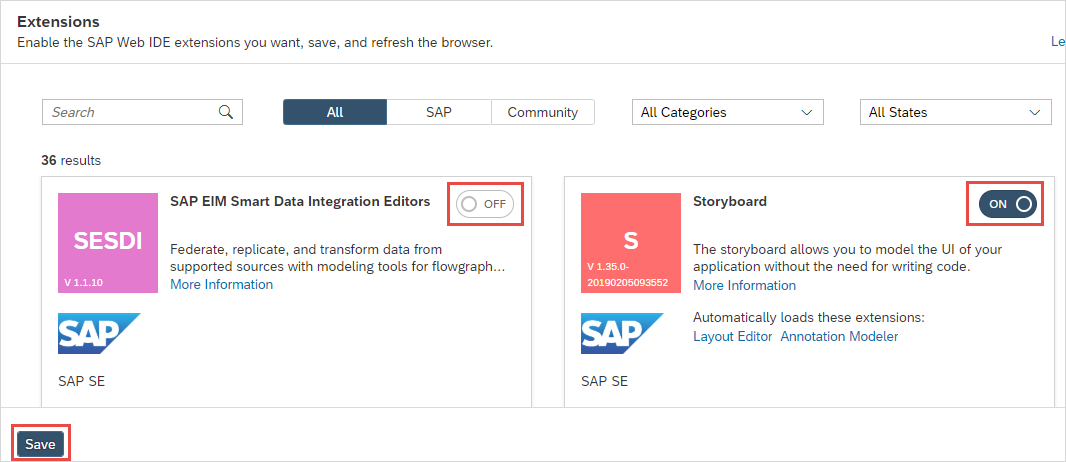
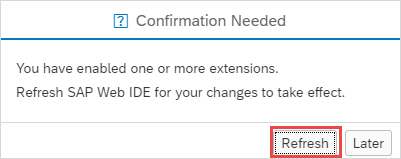
The save triggers a pop-up to refresh SAP Web IDE to propagate the new extensions. Click Refresh.
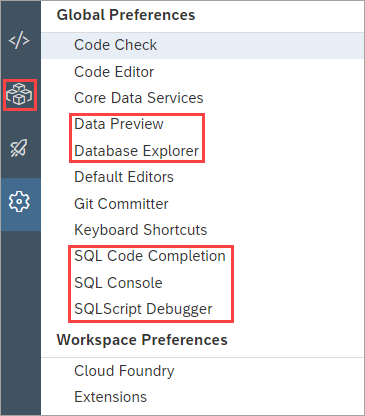
Enabling new extensions may cause new navigation items to pop up on your SAP Web IDE. For example, enabling the SAP HANA Database Explorer creates a new left navigation tab, and adds an additional global preference option.
If you need to compartmentalize your code and extension set, SAP Web IDE enables you to create new workspaces with different extensions installed. Keep your environments clean and organized!
To create a new workspace, choose Tools > Workspace Manager or click <Name>@Workspace in the upper-right corner.
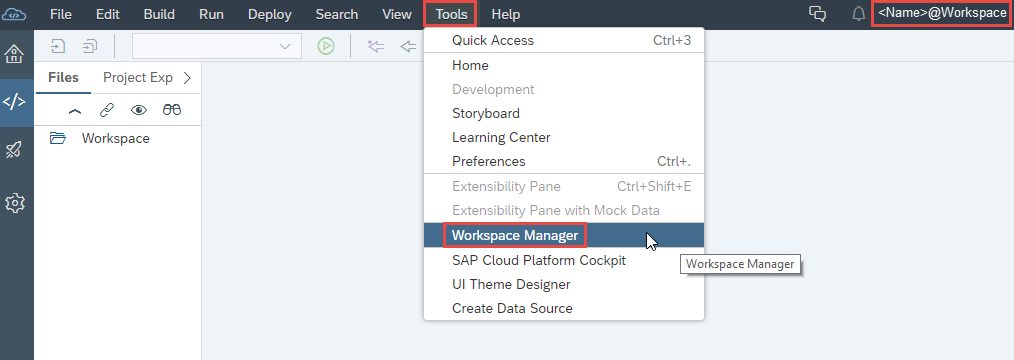
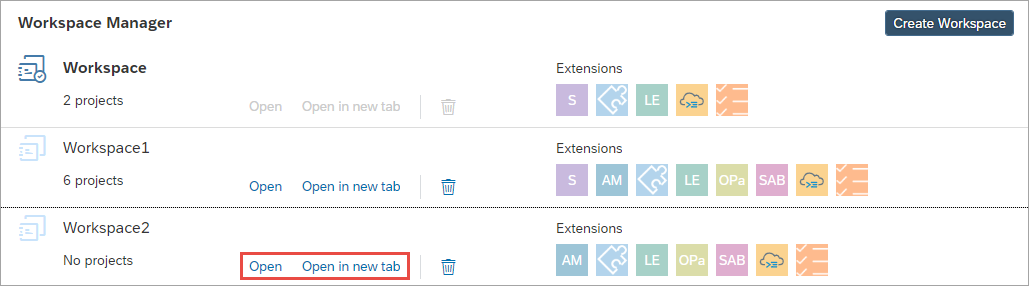
In the Workspace Manager, you can see a list of all your current workspaces as well as how many projects each has and what extensions are enabled. You can also delete old workspaces here.
To create a new workspace, click Create Workspace.

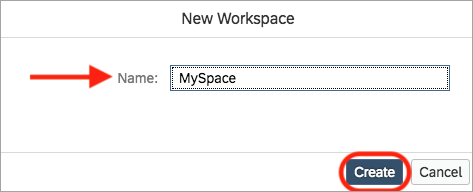
Give the space a name and click Create.
You now have a new workspace. To go to that workspace, click Open or Open in new tab. This will be a clean space for you to work on projects.
Resources
Discussion
Share feedback on this tutorial or join the conversation in SAP Community.