
Overview
You will learn
- Configure destinations to facilitate fast development with SAP Business Application Studio project templates.
- Create the MTA project with Fiori application and Application Frontend deployment configuration.
- Preview Fiori application without deploying it.
- Build and deploy MTA project.
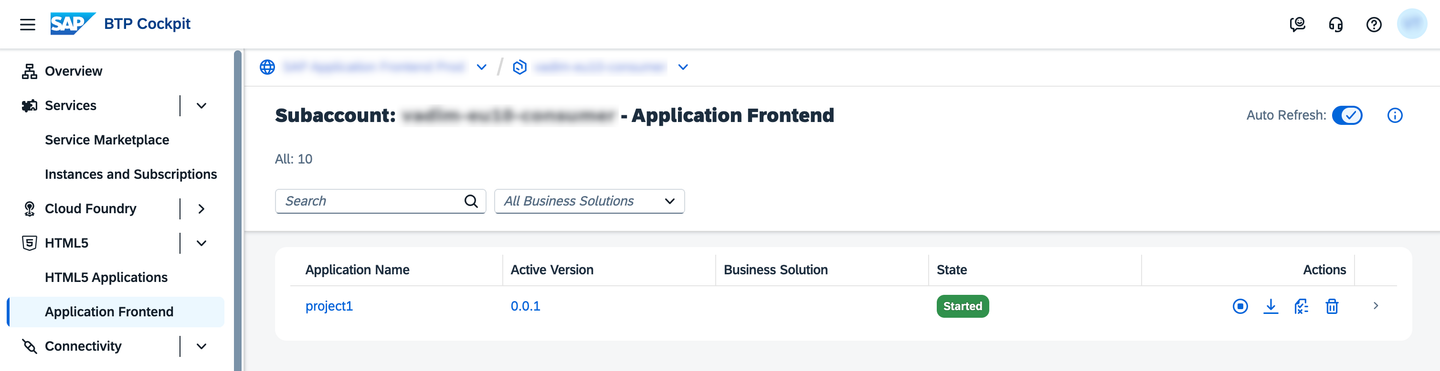
- Find the link to deployed Fiori application and run it.
- Re-deploy UI static resources with CLI.


Prerequisites
Prerequisites
- SAP Business Technology Platform subaccount
- Cloud Foundry environment enabled in subaccount
- Subscription to Application Frontend service
- Subscription to SAP Business Application Studio
Steps
UI5
ui5HTTPInternethttps://ui5.sap.comNoAuthentication<li>Click <strong>Create</strong>.</li>
<p><strong>Northwind</strong></p>
<li>Click <strong>Create</strong>.</li>
<li>Select <strong>From Scratch</strong>.</li>
<li>Fill the <strong>Destination Details</strong> form:</li>
<table></table>
<tbody></tbody>
<tr><th>Name</th><td><strong><code>northwind</code></strong></td></tr>
<tr><th>Type</th><td><strong><code>HTTP</code></strong></td></tr>
<tr><th>Proxy Type</th><td><strong><code>Internet</code></strong></td></tr>
<tr><th>URL</th><td><strong><code>https<span>://</span>services.odata.org/northwind/northwind.svc/</code></strong></td></tr>
<tr><th>Authentication</th><td><strong><code>NoAuthentication</code></strong></td></tr>
<li>Use <strong>Add Property</strong> button to configure additional destination properties:</li>
<table></table>
<tbody></tbody>
<tr><th>WebIDEEnabled</th><td><strong><code>true</code></strong></td></tr>
<tr><th>WebIDEUsage</th><td><strong><code>odata_gen</code></strong></td></tr>
<tr><th>WebIDEAdditionalData</th><td><strong><code>full_url</code></strong></td></tr>
<tr><th>HTML5.DynamicDestination</th><td><strong><code>true</code></strong></td></tr>
<blockquote><p>The additional destination properties above are only required to enable relevant SAP Business Application Studio capabilities. Add them to destinations used in development, but not in production.</p></blockquote>
<li>Click <strong>Create</strong>.</li>


MyDevSpace).
☰ > File > New Project from Template


Connect to a Systemnorthwindhttps://services.odata.org/northwind/northwind.svc/
ProductsNoneResponsive
Yes<p>Leave the rest of the fields without modification. Click <strong>Next</strong>.</p>

Cloud Foundrynorthwind - https://services.odata.org/northwind/northwind.svc/Add Application to Application Frontend Service

Fiori: Preview Application

start fiori run --open "test/flp.html#app-preview"


mta.yaml file in project explorer and select Build MTA Project.
mta_archives/project1_0.0.1.mtar file in project explorer and select Deploy MTA Archive.
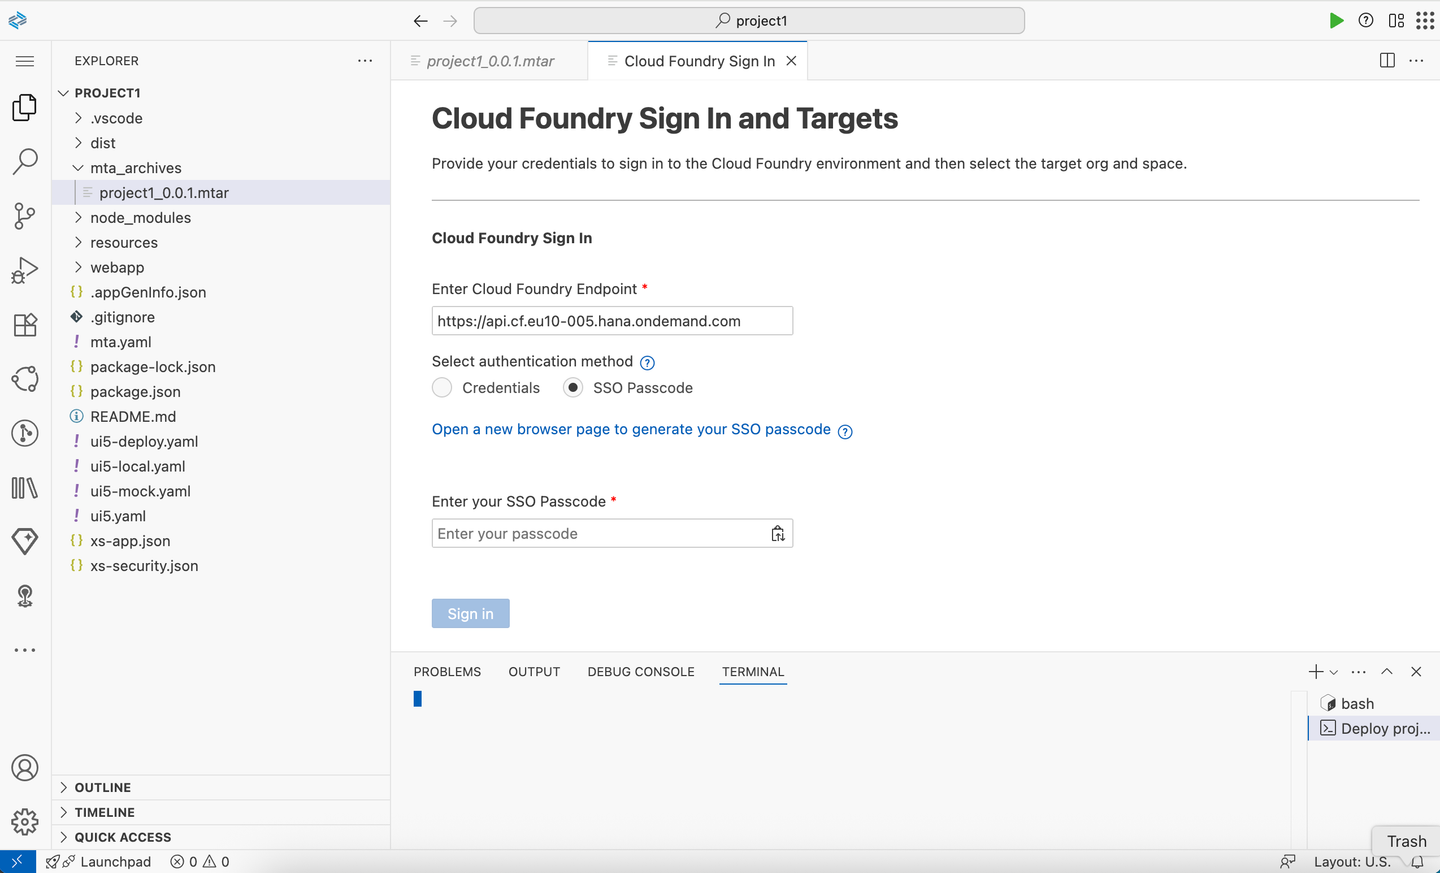

This step of tutorial is optional. It shows how you can shorten the UI development cycle by skipping the build and re-deploy of the whole MTA. The technic below allows to re-deploy only static resources of UI application.
webapp/index.html and change the title of the page:
npm run buildafctl login --sso -a '<URL>'
afctl push dist
Resources
Discussion
Share feedback on this tutorial or join the conversation in SAP Community.