
Overview
You will learn
- How to create an ABAP package
- How to create list report object pages
- How to run SAP Fiori applications
- How to deploy applications
- How to check BSP library in Eclipse


Prerequisites
Prerequisites
- This tutorial can be used in both SAP S/4HANA Cloud, private edition system and SAP S/4HANA on-premise system with release 2022 FPS01. We suggest using a Fully-Activated Appliance in SAP Cloud Appliance Library for an easy start without the need for system setup.
- The steps for fully-qualified Domain Name & SSL Certificates can be found here.
- For SAP S/4HANA on-premise, create developer user with full development authorization
- You have installed the latest Eclipse with ADT.
- You set up VS Code for Fiori Tools
Steps
Intro
In this tutorial, wherever ### appears, use a number (e.g. 000). This tutorial is done with the placeholder 000.
This scenario describes the embedded deployment, which features an SAP Fiori front-end server (and the associated components) deployed along with the backend components in the same system.
In this step, we’ll create an ABAP package with the superpackage $TMP.
Select Local Objects (
$TMP) > New > ABAP Package.
package Create new ABAP package:
- Name:
$Z_PURCHASE_REQ_TIER3_### - Description: Package ### - Tier 3
Superpackage:$TMP- Package Type: Development

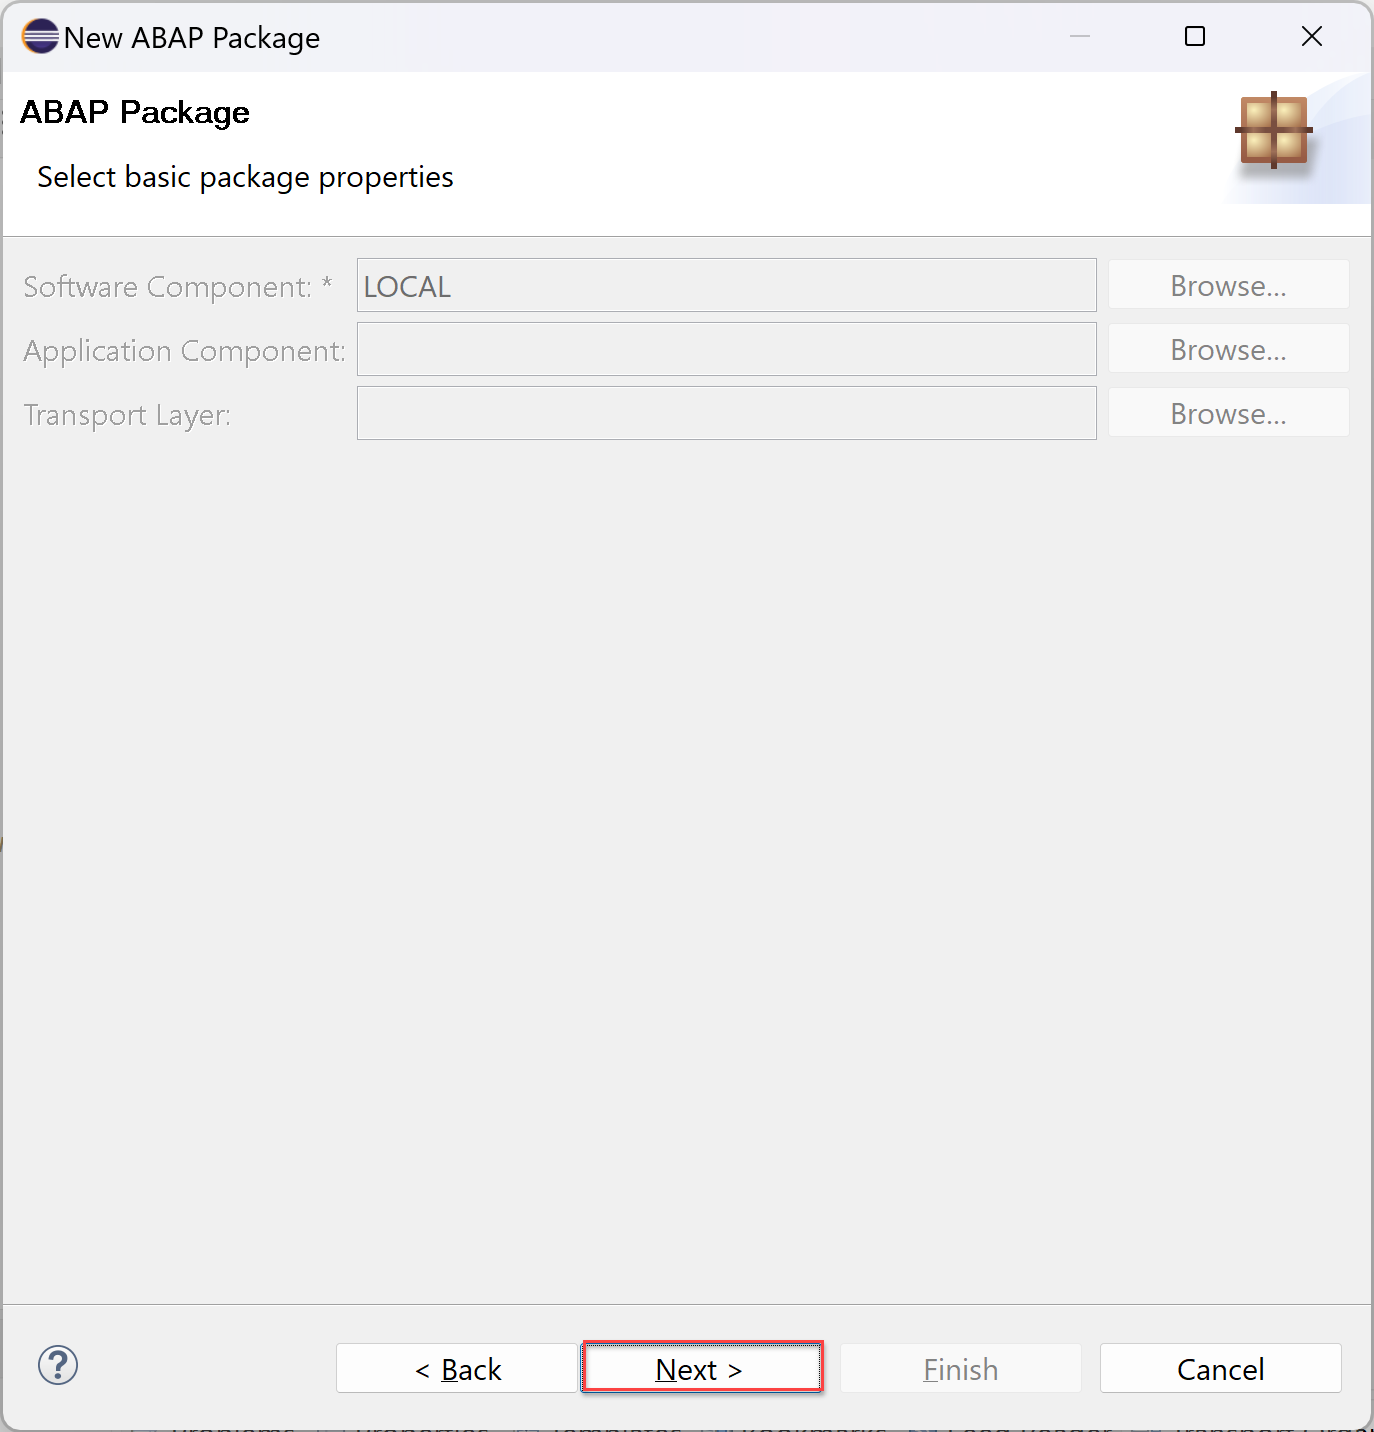
package Click Next >.
- Name:
Click Next >.
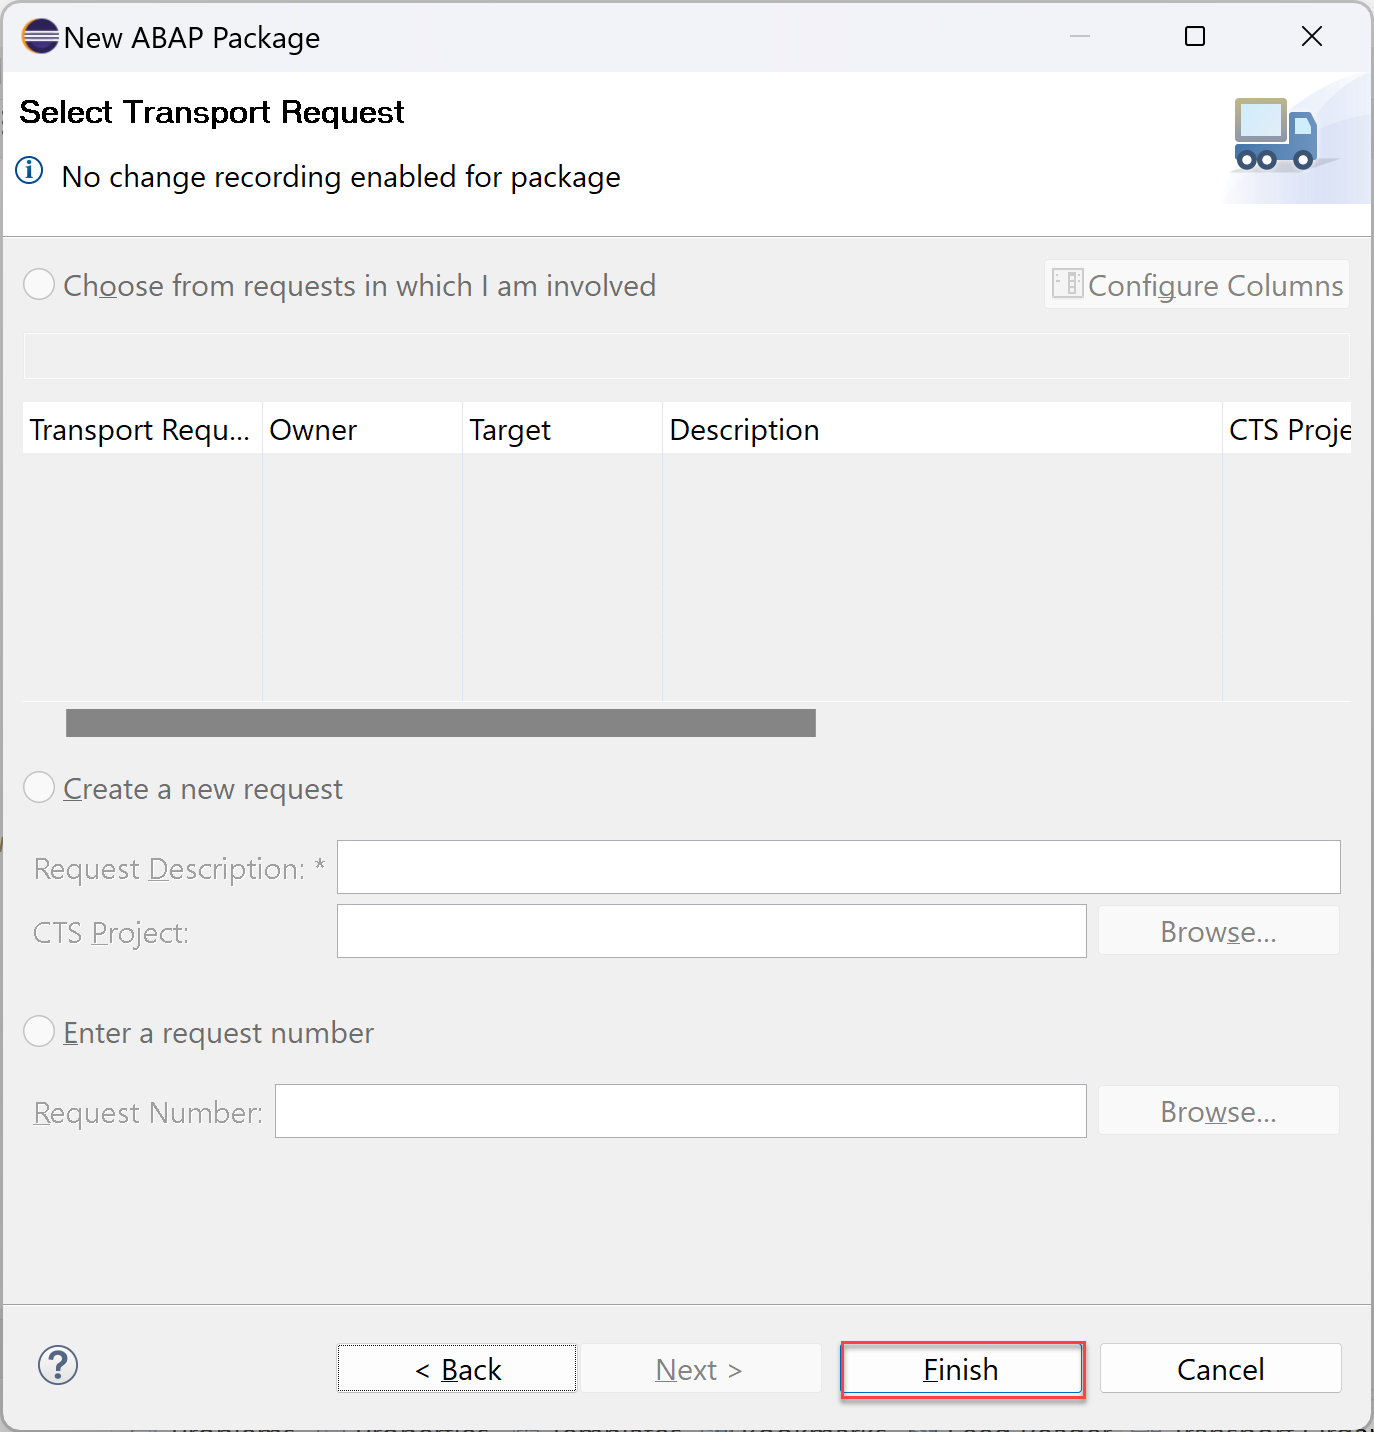
package Click Finish.
package Now continue with step 2 of Create an Shopping Cart Business Object. Move on with Enhance the Behavior Definition and Behavior Implementation of the Shopping Cart Business Object and Integrate released purchase requisition API into Shopping Cart Business Object. Afterwards, come back and continue with step 2 of this tutorial.
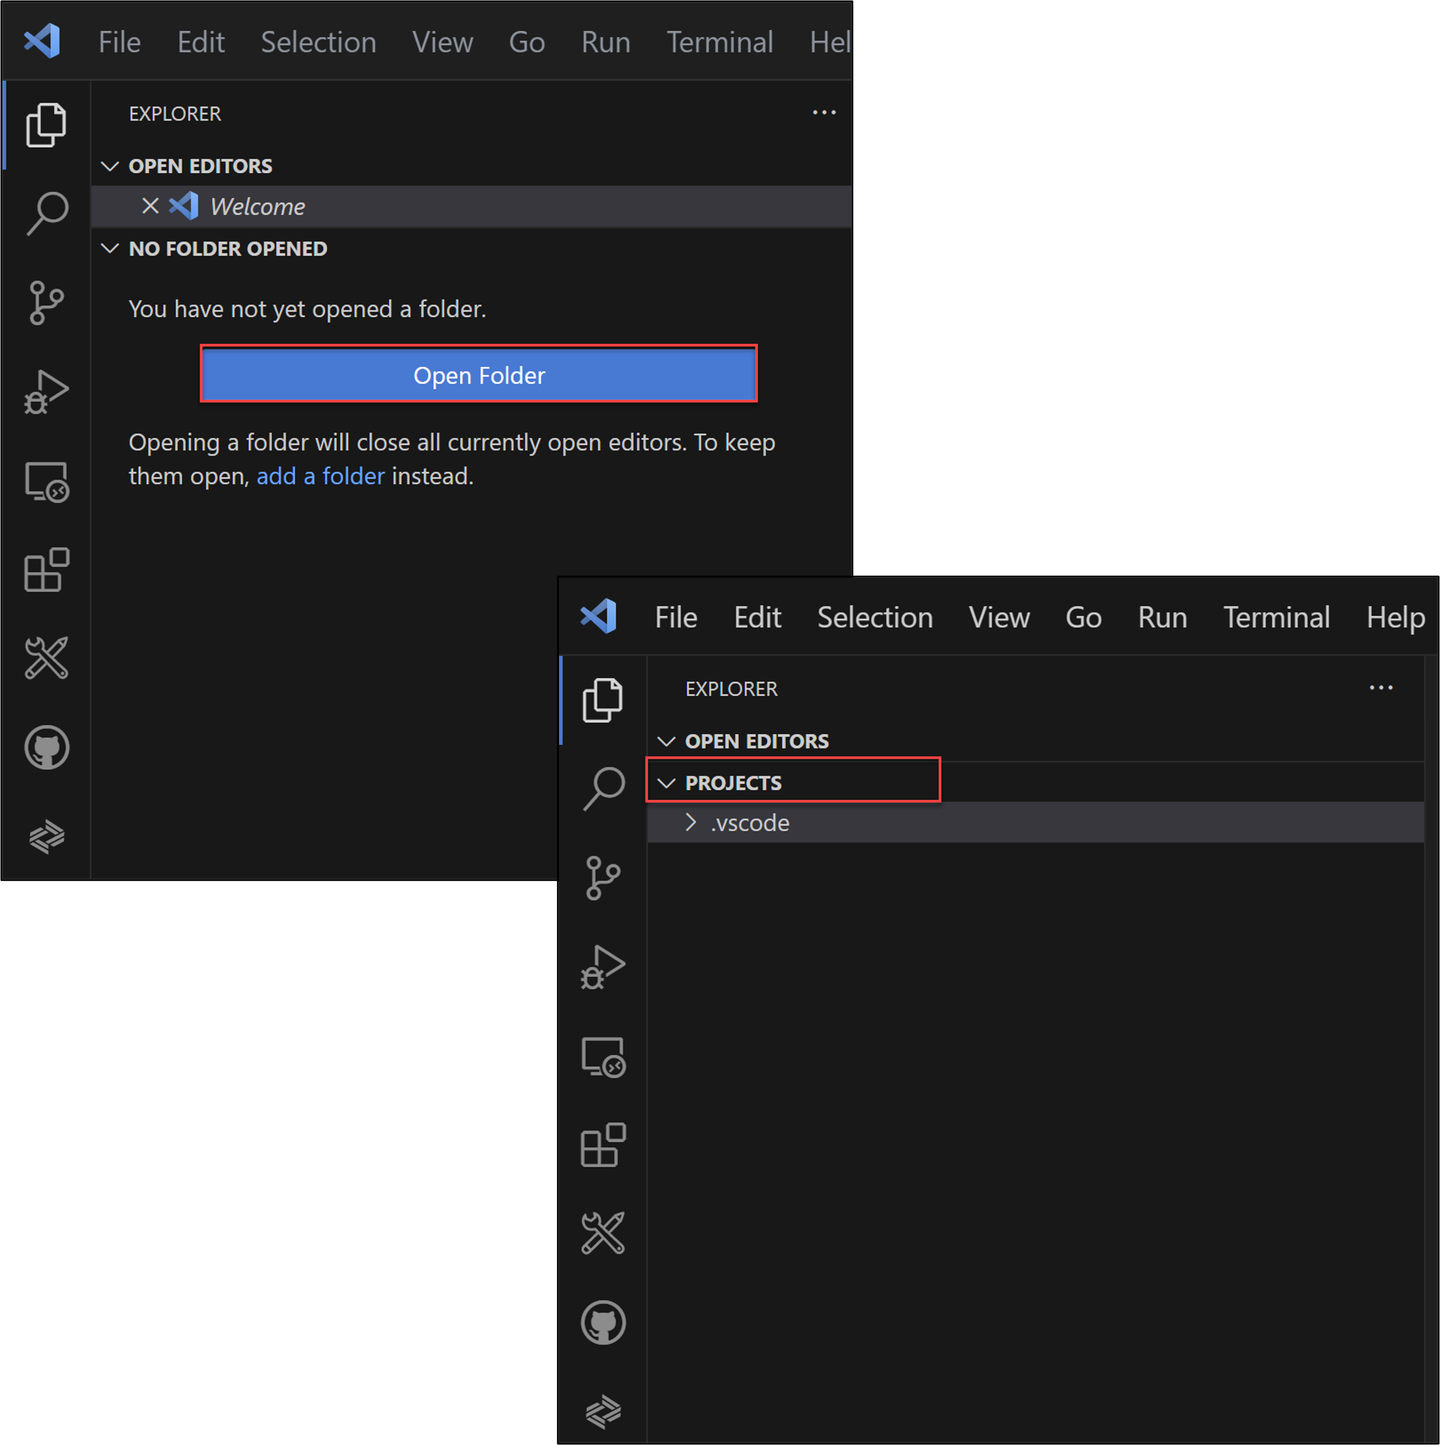
This step is for creating a list report object page. Open Visual Studio Code and open your visual studio projects folder
Open Visual Studio Code and open your Visual Studio Code projects folder. Select the projects folder. Your created projects will later appear in this folder.
object
Hint: You can find your folder under:
C:\Users\<userid>\projects.
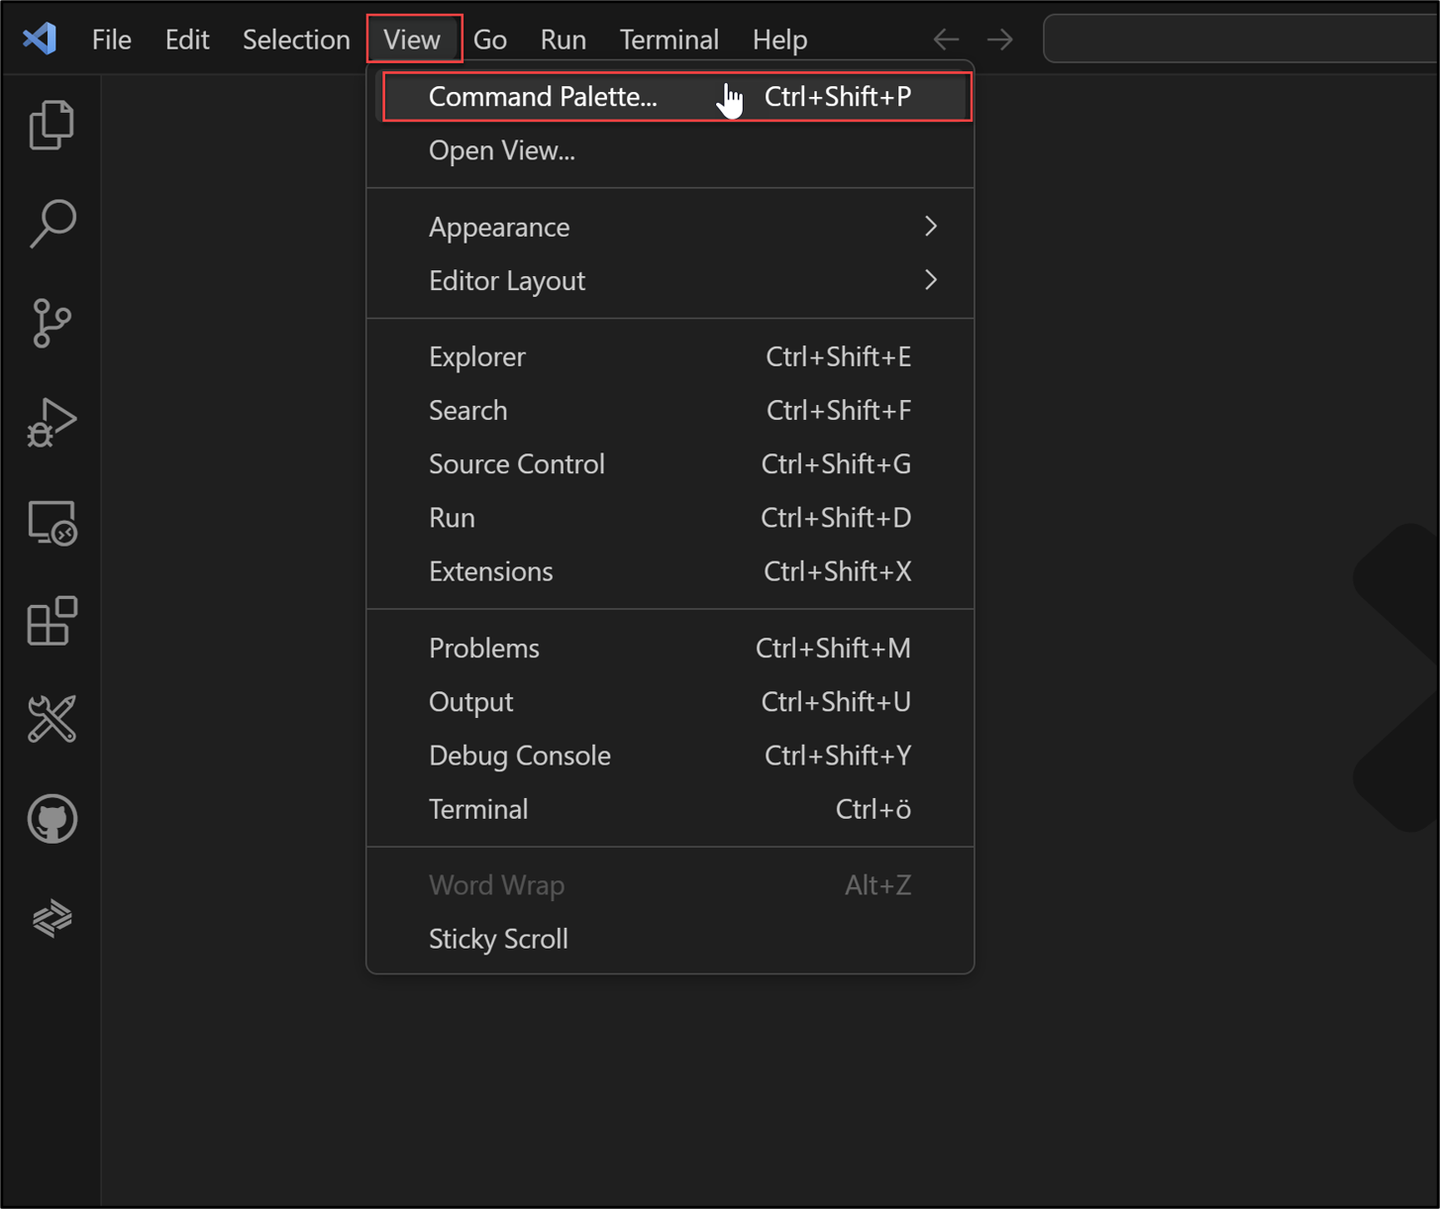
Select the menu on the top and click View > Command Palette.
object Search for Fiori: Open Application Generator and select it.

object Select Template Type: SAP Fiori, as template List Report Page and click Next >.

object Configure data source, system and service:
Data source: Connect to a System
System: New System
System type: ABAP On Premise
System URL:
https://mysystem.fqdn.com:44301SAP client: 100
Service username:
<your_username>Service password:
<your_password>Click the login symbol on the right side to log in.
System name:
<your_system_ur>Service:
ZUI_SHOPCART_O4_### > ZUI_SHOPCART_###(0001) - OData V4

object Click Next >.
Hint: In case of invalid security certificate errors, follow this link.
Select your main entity
ShoppingCartand click Next >.
object Configure project attributes:
- Name:
z_purchase_req_tier3_### - Title: Shopping Cart ###
- Description: A Fiori application.
- Project folder path:
c:\Users\<userid>\projects - Add deployment configuration: Yes
- Add FLP configuration: No
- Configure advanced options: No
Click Next >.

object An FLP configuration does not have to be created in Visual Studio Code, as this will be created in a later step using tools for setting up the Launchpad content.
The project folder path has a further substructure.
- Name:
Hint: Your module name must be written in lowercase letters.
Configure deployment:
- Target: ABAP
- Target system:
<your_abap_system_url> - Enter client: 100
- SAPUI5 ABAP Repository:
zshopcart_tier3_### - Package:
$z_purchase_req_tier3_### - How do you want to enter Transport Request? Manually
- Transport Request: is not needed

app Click Finish.
In this step, we’ll run the SAP Fiori application, to check
In the Application Information overview, select Preview Application to start the preview.

deploy Log in with your credentials. Then select the first entry in the search bar.

url Your browser opens. Click Go and check your application.

url
This step describes the deployment of the created application.
In the Application Information overview, select Deploy Application to start the deployment.

deploy When prompted, check deployment configuration and press y. Open the URL at the end of the deployment log in browser to preview the application.

deploy When the deployment is successful, you will get these two information back as a result: deployment successful.
Hint: If an error message appears, use the Environment Check.
Open the URL to open the deployed application.

deploy Click Go and check your application.

deploy
Open Eclipse and check the BSP library in your package
$z_purchase_req_tier3_###. You can find your package under Local Objects ($TMP) > User123. If you are not able to see BSP applications and SAP Fiori Launchpad app description items, refresh your package by pressingF5.
library
Resources
Discussion
Share feedback on this tutorial or join the conversation in SAP Community.