
Overview
You will learn
- In the consuming system: How to create a new destination with an HTTP connection, pointing to the provisioning system
- How to create proxy artifacts representing the remote service, using the
metadatafile you created previously This tutorial mission was written for SAP BTP ABAP Environment. However, you should also be able to use it in SAP S/4HANA Cloud Environment in the same way. The tutorial is based on: - SAP Help Portal: Preparing Access to the Remote OData Service
- SAP Help Portal: SAP Help Portal: Creating a Service Consumption Model Throughout this tutorial, replace
###or000with your initials or group number.


Prerequisites
Prerequisites
- IMPORTANT: This tutorial cannot be completed on a trial account
- IMPORTANT: This tutorial is part two of a mission, Connect Two Instances of SAP BTP, ABAP Environment. You cannot complete it standalone; it will not work
Steps
As in the previous tutorial, create a package in your
ZLOCALpackage, this time in the consuming system:Z_OUTBOUND_ODATA_###.Create a new transport request.
Add it to Favorite Packages.
Select your package and choose New > Other Repository Object… from the context menu.
Add the filter outbound, choose Outbound Service, then choose Next.
Enter the following, then choose Next.
- Outbound Service:
Z_OUTBOUND_ODATA_### - Description: Get data from remote service via OData
- Service Type: HTTP Service

step1b-outbound-service-details
- Outbound Service:
Choose the transport request, then choose Finish.
Your service appears in a new editor. The system adds the suffix _REST automatically.
Select your package and choose New > Other Repository Object… from the context menu.
Add the filter
scen, choose Communication Scenario, then choose Next.Enter the following, choose a transport request, then choose Finish.
- Name:
Z_OUTBOUND_ODATA_CSCEN_### - Description Get data from remote service via OData
Your Communication Scenario appears in a new editor.
step2a-new-outbound-comm-scen
- Name:
On the Overview tab, select Allowed Instances: One instance per client.
On the Outbound tab, add the authorization type Basic.
Then, in the Outbound Services panel, choose Add….
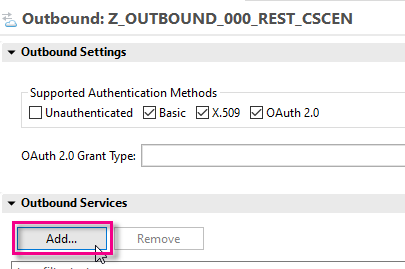
step2b-add-outbound-service Browse for your service,
Z_OUTBOUND_ODATA_###_REST, (the suffix REST is added automatically), then choose Finish.The Communication Scenario appears in a new editor.
Choose Save, then choose Publish locally.
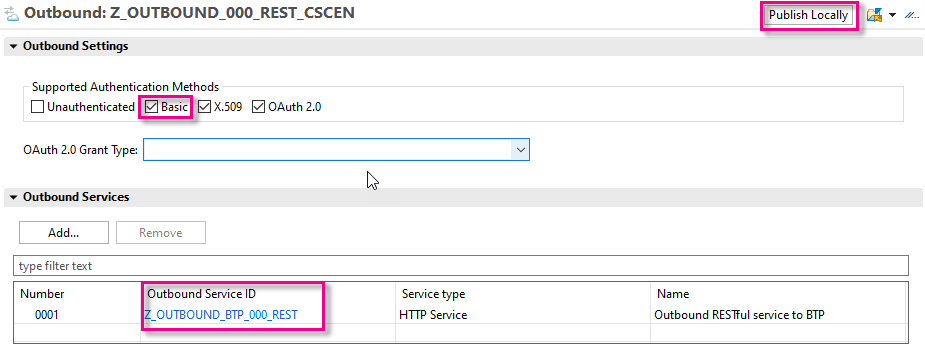
step2c-publish-comm-scen
In Fiori launchpad, open the app Communication Systems, then choose New.
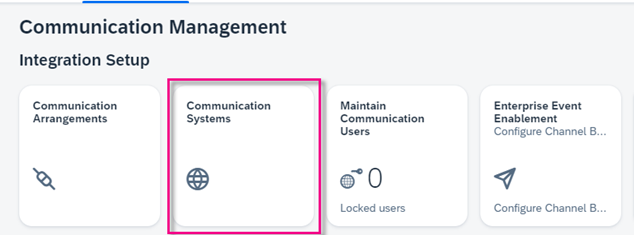
step3a-comm-sys 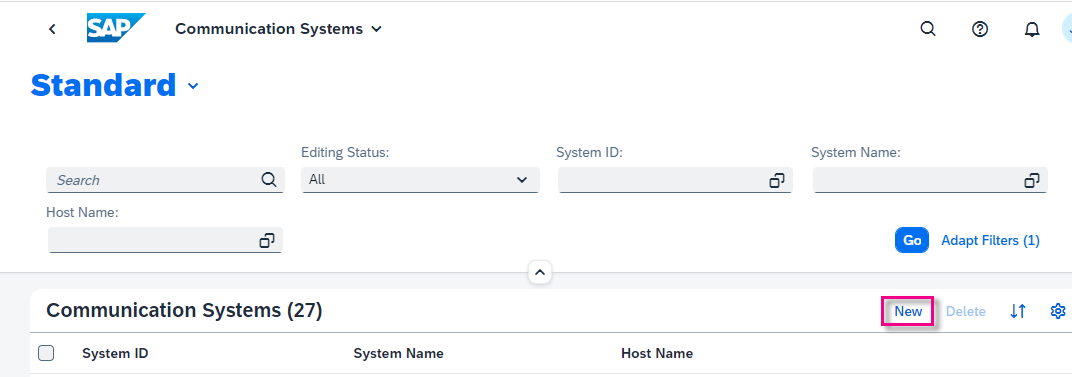
step3b-new-comm-sys Enter a system ID, then accept the (identical) system name:
Z###_TO_PRV_CSYSwherePRVis the name of your provisioning system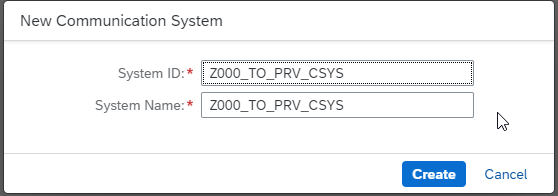
step3b-new-comm-sys-id-name
In Technical Data:
Switch Destination Service to OFF.
In Host Name, enter the base URL of your provisioning system in the form
<GUID>.abap.<region>.hana.ondemand.com. Again, you can find the URL for the dashboard by selecting your system (that is, ABAP Project in Project Explorer), then choosing Properties > ABAP Development from the context menu.IMPORTANT:
Remove the protocol (e.g.https://) from the start and/from the end of the host name.
Make sure the domain starts withabap, notabap-webPort = 443
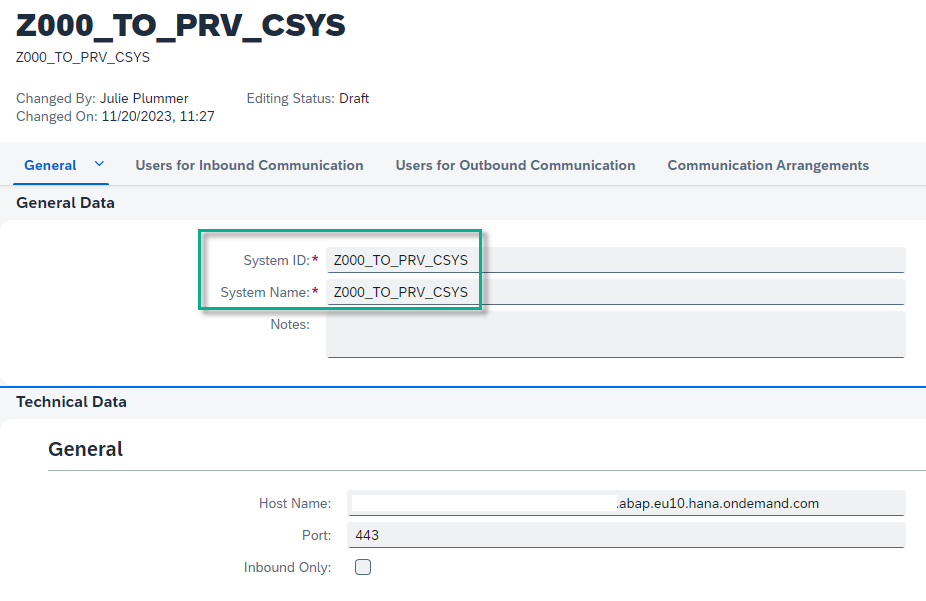
step3c-comm-sys-general In Users for Outbound Communication, add a new user by choosing the + symbol.
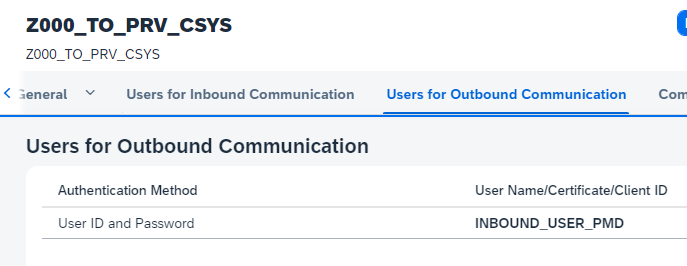
step3d-add-comm-user Choose the authentication method User Name and Password.
From the dropdown, choose the user from the provisioning system,
INBOUND_TRAVELPRO; paste the password you generated previously (if necessary); then choose Create.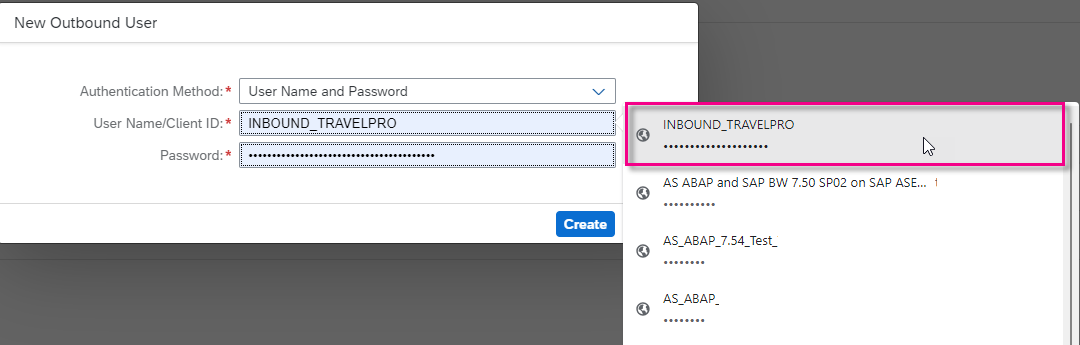
select-comm-user Choose Save.
Similarly, open the app Communication Arrangements, then choose New.
From the dropdown, choose your Communication Scenario,
Z_OUTBOUND_CSCEN_###; accept the generated (identical) Arrangement Name, then choose Create.From the dropdown, select your Communication System.
The system fills in the User Name and Outbound Service automatically. Choose Save.
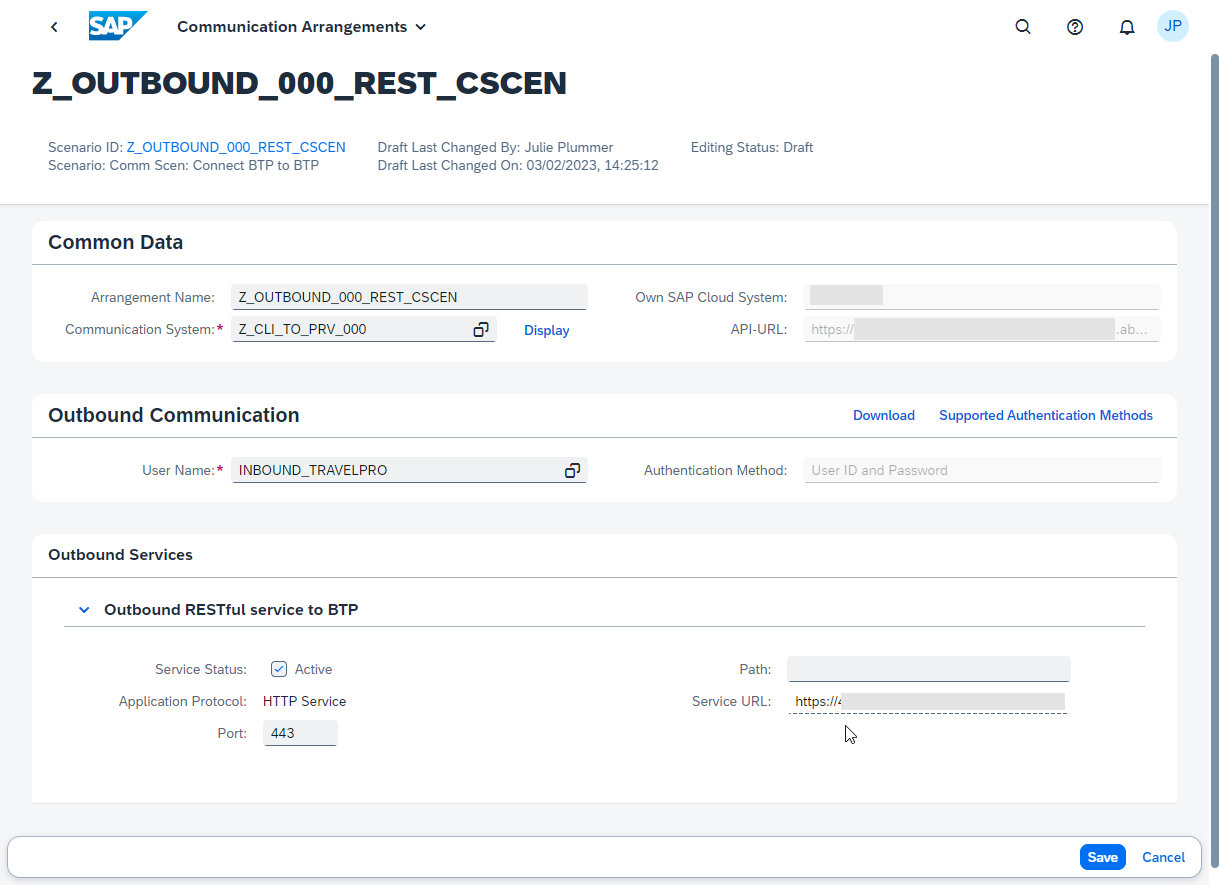
step11c-comm-arr-complete In the Outbound Services panel, check the connection.
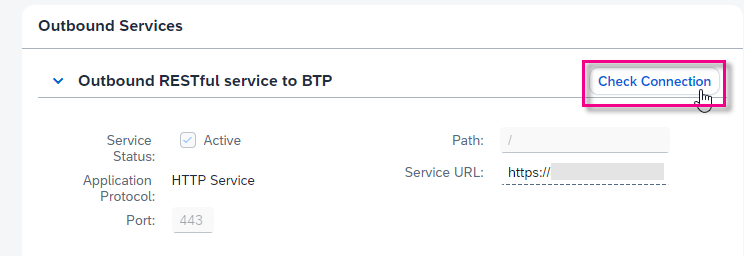
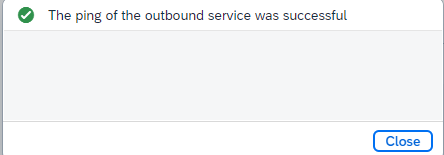
step11d-check-connection
You should get a result like this.
You will now create the Service Consumption Model in ADT, using the EDMX file - i.e. the $metadata.xml file that you stored locally.
Select your package and choose New > Other ABAP Repository Object from the context menu.
Enter the filter text service and choose Service Consumption Model.
Enter the following and choose Next.
- Name:
Z###_MODEL_TRAVELS - Description
Model for Z_C_TRAVEL_U_SIMPLE_### - Remote Consumption Mode:
OData
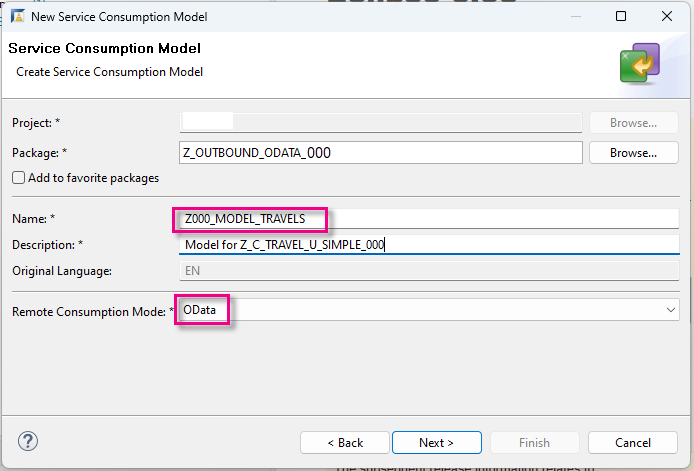
step5a-scm-new - Name:
Using Browse…, navigate to your
$metadatafile, choose Open, enter a Class Name, then choose Next.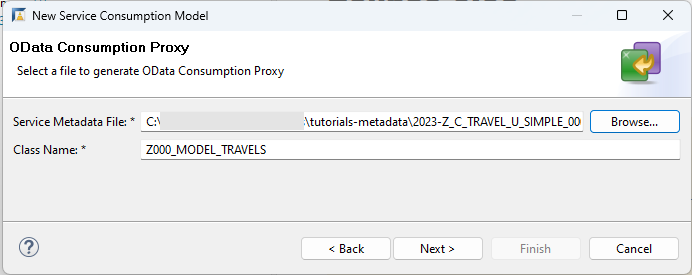
step5b-scm2-metadata The Entity Set and Entity Type appear; choose Next.

step5c-entity-set
5 Choose ETag Support, then choose Next.
- Choose the above transport request and choose Finish.
The Service Consumption Model appears in a new editor, showing the model class, entity set name, and sample code for 5 basic operations.
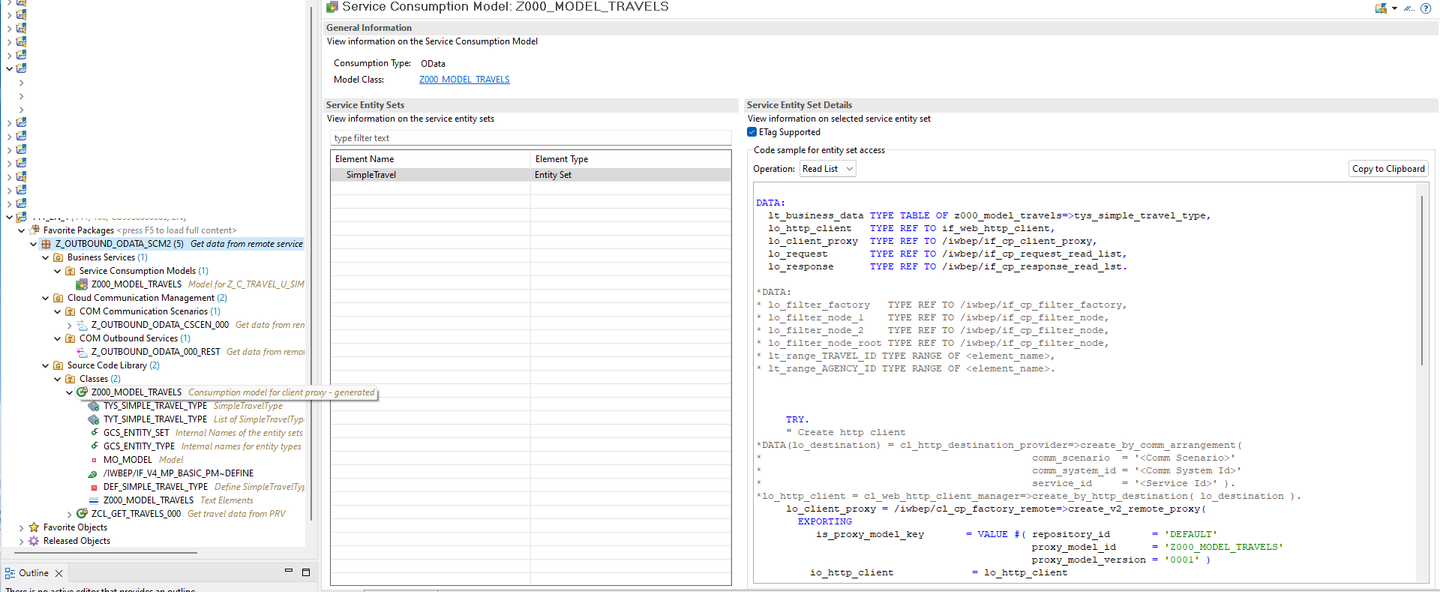
You will later create an ABAP class based on the operation Read List. The class will display the retrieved data to an ABAP Console application, then to a Fiori Elements preview.
SAP Help Portal: Service Consumption via Communication Arrangements
SAP Community blog post: Service Consumption Model 2 for OData Client Proxy
Resources
Discussion
Share feedback on this tutorial or join the conversation in SAP Community.